
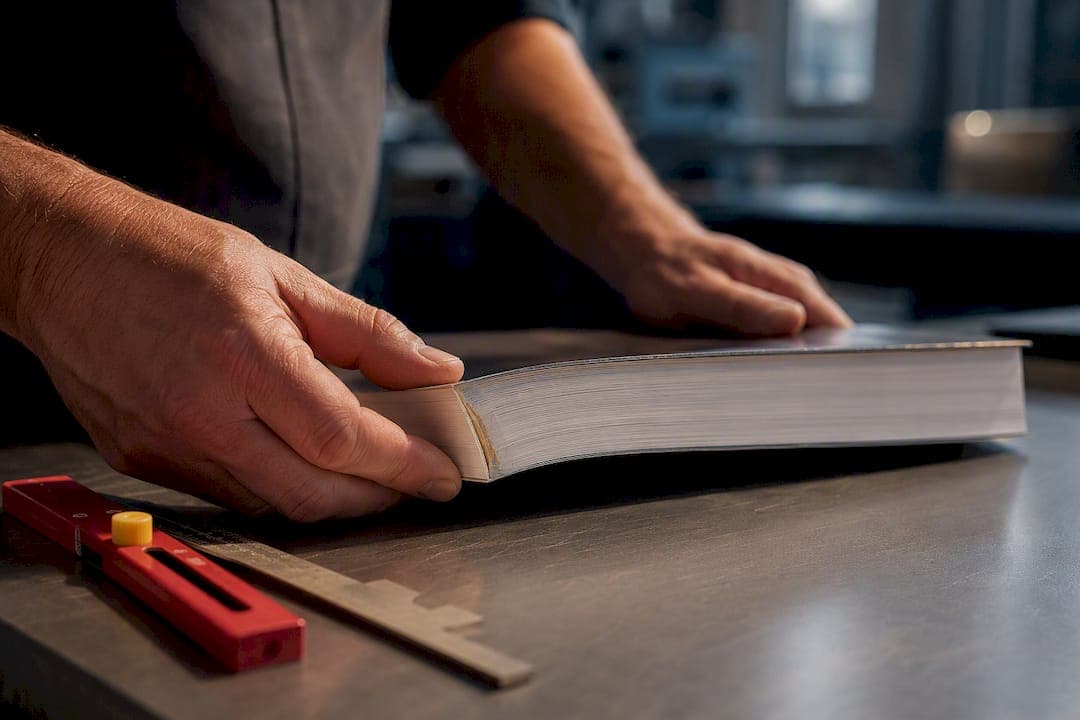
Perfect bound yearbooks make sense once your book runs above a typical lower page count threshold and you want a clean, printable spine with real bookshelf presence. The tradeoff is a spine that won't lie as flat as a sewn or casebound book, so adhesive choice and gutter margins matter more than most advisers expect. Skip ahead to the Ordering Checklist: Files, Approvals, and Delivery Steps if you're ready to submit files, or keep reading for the specs that keep a print run from needing a reprint.
TL;DR:
- Accurate calculation of spine width using page count and paper thickness is crucial to prevent layout shifts and last-minute redesigns.
- Upgrading to PUR adhesive significantly enhances durability, especially for books handled daily, compared to standard EVA glue.
- Locking in spine width before designing the cover ensures alignment and avoids clipping or misplacement of spine text and logos.
- Ordering a printed sample before full production helps verify paper feel, color accuracy, and finish quality, minimizing costly reprints.
Table of Contents
- What Perfect Binding Actually Is
- When to Choose Perfect Binding for a Yearbook
- Getting the Technical Specs Right
- Materials, Adhesives, and Durability
- Production Timeline, Proofs, and Cost Drivers
- Design Tips That Print Clean
- Ordering Checklist: Files, Approvals, and Delivery Steps
- Why TrailMark Yearbooks Fits This Process
- What Actually Matters Once You Cut Through the Advice
- Check Pricing or Request a Sample Before You Commit
- Sources
What Perfect Binding Actually Is
Perfect binding glues printed pages together at a flat spine, then trims all three outer edges so the block sits square. That square edge is what lets a printer add text or artwork to the spine itself, something a saddle-stitched booklet can never do because it has no flat spine to print on.
The process itself is straightforward:
- Pages are collated and clamped
- Adhesive is applied along the spine edge
- The cover wraps around and bonds to that glued edge
- The whole block gets trimmed on three sides for a clean, square finish
Compare that to the alternatives. Saddle-stitching, folding sheets and stapling them through the fold, works fine for thin booklets under about 40 pages but starts to bulge and misalign once page count climbs. Casebound (true hardcover) construction sews or reinforces the pages before wrapping them in rigid board, which survives years of backpack abuse better than any glued spine can, but it costs more and adds production time. Perfect binding sits in the middle: sturdier and more polished-looking than a stapled booklet, more affordable and faster to produce than a hardcover.
When to Choose Perfect Binding for a Yearbook
Page count is the first filter. Printivity points to a practical minimum of about forty to fifty pages, below that the spine is too thin to hold its shape or carry printed text.
Beyond page count, a few scenarios make perfect binding the obvious pick:
- Your budget needs to stretch across a full print run, not just a handful of premium copies
- Students and families expect a book that looks like a real publication, not a packet
- The yearbook needs to survive a year on a shelf, but doesn't need to survive a decade of daily handling
- You want the flexibility to upgrade paper or finish later without committing to hardcover costs upfront
If your book is closer to 100+ pages and doubles as a keepsake families will hold onto for decades, it's worth reading how hardcover binding compares before locking in your format.
Getting the Technical Specs Right
Spine width isn't a guess. It's calculated from page count multiplied by the thickness of your chosen paper stock, and getting it wrong by even a fraction of an inch shifts your entire cover layout after trimming. Some stocks run around a small fraction of an inch of spine width per page as a rough industry benchmark, but that number moves depending on paper weight, so run your actual specs through a book spine width calculator before you finalize cover art rather than trusting a memorized rule of thumb.
Beyond spine math, a handful of file-prep basics separate a clean print run from a costly reprint:
- Bleed: extend background art 0.125 inches past the trim line so nothing shows a white edge after cutting
- Safety margin: keep text and faces at least 0.25 inches inside the trim edge
- File format: PDF/X is the preferred export; it locks fonts and color settings so nothing shifts on the print floor
- Resolution: 300 DPI minimum for anything with photos or fine detail
- Color mode: CMYK, not RGB, or your printed colors will look duller than what you saw on screen
Capturely's cover design guidance walks through why locking spine measurement early prevents the layout shifts that catch coordinators off guard during proofing. Our bleed settings checklist covers the exact margins to build into your template from day one.
Materials, Adhesives, and Durability
Two adhesives dominate perfect binding, and the difference between them shows up months later when the book has been through a locker a few hundred times. EVA (ethylene vinyl acetate) is the standard choice and handles normal use fine. PUR (polyurethane reactive) adhesive offers noticeably stronger flexibility and heat resistance, which matters for a book that's going to sit in a hot car or a crammed backpack for months.
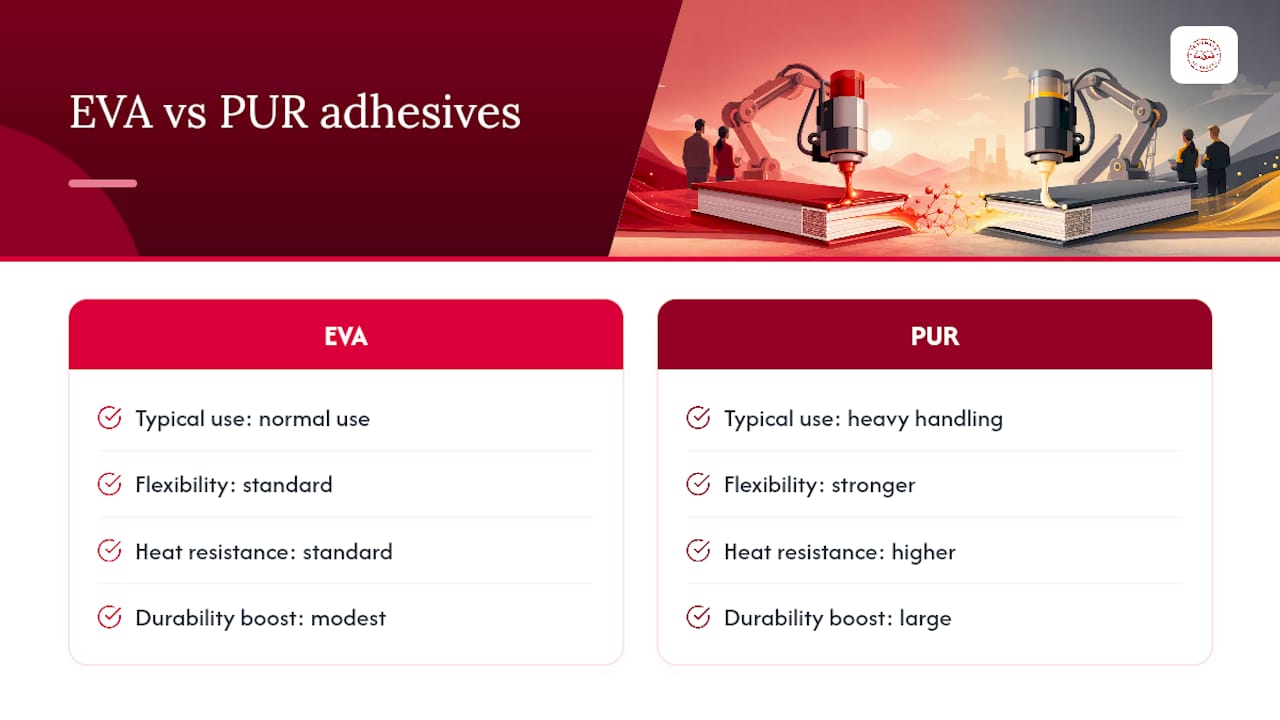
Pro Tip: If your yearbook gets heavy daily handling, upgrading to PUR adhesive alongside a slightly heavier text-weight paper stock is one of the cheaper durability upgrades available. It extends the book's working life more than almost any other single change.
Paper weight matters just as much. Interior pages typically run lighter for cost control, while cover stock needs enough weight to resist bending at the corners. Finish choice adds another durability layer: laminate and UV coatings protect against scuffing, while soft-touch finishes feel premium but show fingerprints faster.
One recurring failure mode: heavy ink coverage across the spine cracks after repeated opening and handling, especially on dark or edge-to-edge cover designs. The fix is straightforward. Reduce ink density in a roughly 1 inch band along the spine, or add a UV or matte coating that adds flex resistance where the book bends most.
Also worth planning for: because perfect binding doesn't open as flat as a sewn book, inner gutters need extra width so photo captions and page numbers don't disappear into the fold.
Production Timeline, Proofs, and Cost Drivers
Standard production windows run a few weeks from approved files to shipped books, with rush options available at most printers for tighter deadlines. What actually drives your price isn't the binding method itself so much as the choices layered on top of it.
The biggest cost levers, in rough order of impact:
- Total quantity ordered
- Total page count
- Paper and cover stock selection
- Adhesive upgrade (EVA to PUR)
- Finish selection (matte, gloss, soft-touch, UV)
Smartpress notes that proof approval is the step that actually prevents expensive reprints, not a formality to rush through. A printed sample costs a small fraction of what a full reprint costs, and it's the only way to catch color shifts or ink-cracking risk before hundreds of copies roll off the line.
Design Tips That Print Clean
Spine and cover design problems almost always trace back to decisions made too early or too late in the process. A few rules keep the final book looking the way it did on screen:
- Lock spine width first. Calculate it before designing cover art, not after, so text and logos never shift after trimming.
- Keep spine text inside the safety zone. A quarter-inch buffer on each side of printed spine text prevents it from getting clipped during trimming.
- Plan ink density at the spine. Heavy, saturated color across the fold is the most common cause of visible cracking after binding.
- Choose legible spine typography. Bold, mid-weight sans-serif fonts at a reasonable size hold up better than thin serif fonts once printed small on a narrow spine.
- Order a printed proof before final approval. Screen color and printed color are never identical, and alignment issues only show up on paper.
Pro Tip: Dark, edge-to-edge covers are the riskiest design choice for spine cracking. If your cover concept leans that direction, request a coated finish specifically to protect the spine fold before you approve final files.
Our cover customization guide covers finish and material choices in more depth if you're still deciding between gloss, matte, and soft-touch options.
Ordering Checklist: Files, Approvals, and Delivery Steps
- Finalize your PDF. Embed all fonts, confirm correct spine width, verify bleed and safety margins, and check that everything exports in CMYK at 300 DPI.
- Request a printed sample if you're unsure about paper feel, color accuracy, or finish before committing to a full run.
- Upload final files and review the digital or physical proof carefully against your original design.
- Approve the proof, confirm final page count and quantity, and lock in payment.
- Assign at least one other reviewer to check the proof independently. A second set of eyes catches typos and misalignment the original designer misses every time.
Why TrailMark Yearbooks Fits This Process
Every specification covered above, spine math, adhesive choice, proofing, exists to prevent rework, and that's the exact problem TrailMark Yearbooks was built to solve. Schools get instant all-inclusive pricing with no sales calls, a 2 to 3 week turnaround on most orders, and free design assistance whether your staff works in Canva, Adobe InDesign, or our own online creator. That combination shortens the gap between a coordinator's first design draft and an approved, print-ready file, which is where most of the delays covered in this guide actually happen.
What Actually Matters Once You Cut Through the Advice
Most yearbook production guides treat binding choice like a design decision. It isn't. It's a materials-engineering decision wearing a design costume, and advisers who treat it that way end up with fewer surprises. The adhesive line item that looks like a minor upsell, EVA versus PUR, is usually the single highest-leverage choice on the entire order form, more consequential than paper weight, more consequential than finish.
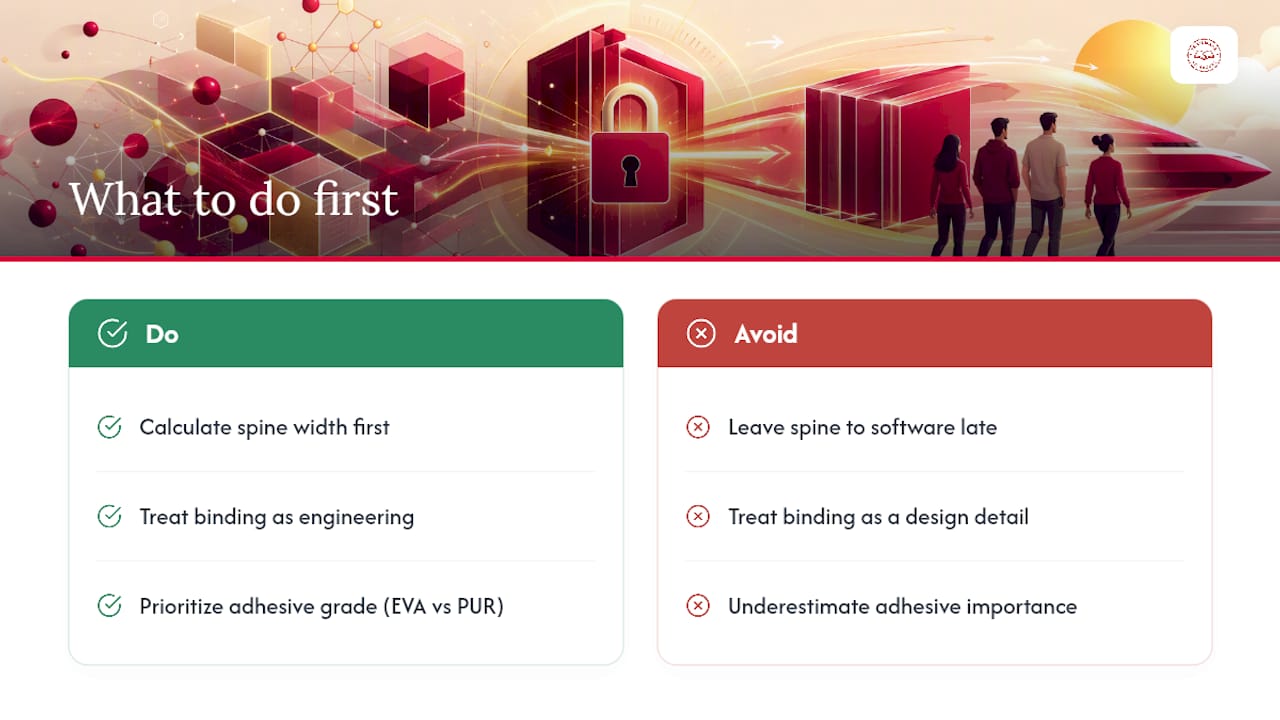
Here's where conventional advice falls short: it obsesses over cover art and treats spine math as an afterthought handled automatically by software. In practice, spine width shifts change layouts, and a locked spine calculated too late is the single most common cause of last-minute redesign panic among coordinators, more common than any font or color decision.
If you take one thing from this guide, take this: calculate spine width before you touch cover art, not after. Everything else, ink density, gutter margins, adhesive grade, becomes easier to get right once that number is locked.
— Jace
Check Pricing or Request a Sample Before You Commit
A physical sample answers questions no spec sheet can, how the paper actually feels, whether the spine flexes the way you expect, whether that finish looks as good in hand as it did on screen. It is easy to request a real sample or check pricing online without sales calls or signup requirements.

Some printers require a sales call before showing pricing, but transparent, all-inclusive pricing online with shipping included is available. If you're still finalizing paper weight, adhesive, or finish, request a printed sample first. If your specs are locked and you're ready to move, check instant pricing and production options and get your order into the 2 to 3 week production window before deadlines close in.
Sources
- What’s The Best Binding For Yearbook Printing? — Printivity
- Yearbook cover ideas that print well — Capturely