
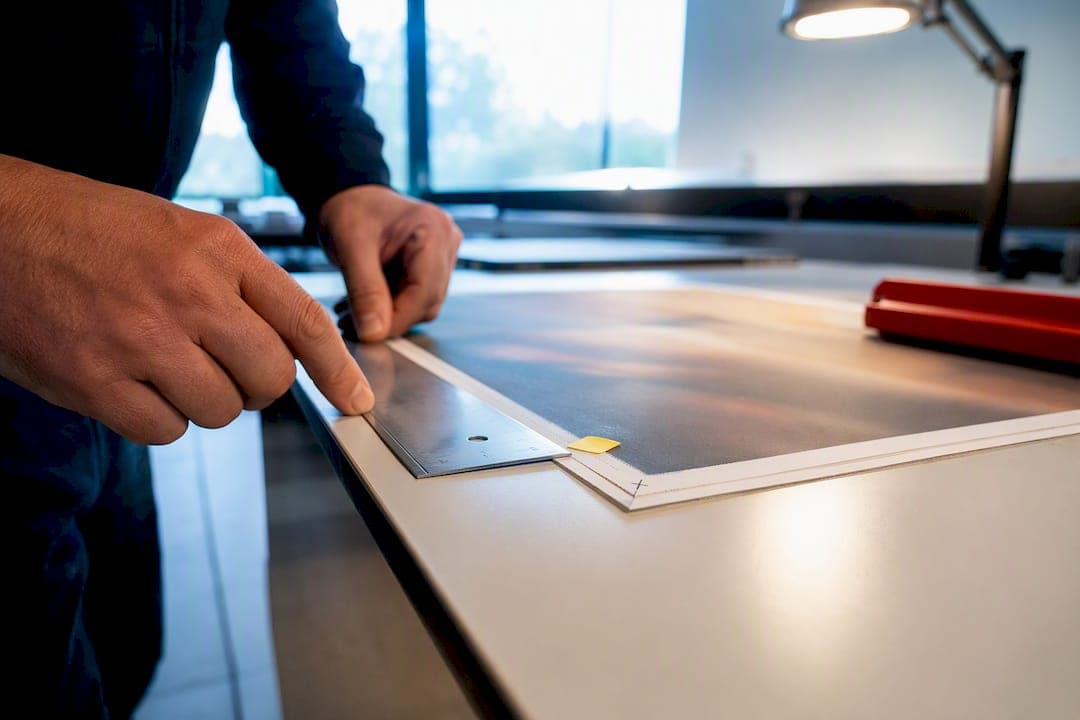
Set your bleed to 0.125 inches (3mm) on every side of the page. That's the standard yearbook printers work with, and it applies to any photo, background, or color block that touches the edge of the page. Interior spreads and covers both need it. The only exception is a printer that specifically requests 0.25" for a particular binding style or template, which happens occasionally but isn't the default you should assume.
TL;DR:
- Most printers recommend a bleed of 0.125 inches on all sides, but some may require 0.25 inches for specific binding styles, which must be confirmed in advance.
- Files must include a safety margin of at least 0.25 inches inside the trim line to prevent important content from being cut off during trimming or binding.
- Building a template with preset bleed and safety guides helps prevent common errors like white edges or misaligned spreads, saving time during final checks.
- Export files as PDF/X-4 or PDF/X-1a with bleed, crop marks, embedded fonts, and 300 DPI resolution at final size to meet typical printer requirements.
- Request a printed sample before submission to confirm bleed and safety margin settings are correctly applied, avoiding costly reprints and tight deadline issues.
Table of Contents
- Yearbook Bleed Settings: Trim, Bleed, and Safety Margin at a Glance
- How to Set Bleed in InDesign, Illustrator, Photoshop, Canva, and Publisher
- Handling Spreads, Gutters, and Center Bleed
- Cover Files Follow Different Rules Than Interior Pages
- Export Settings and a Print-Ready Preflight Checklist
- The File Errors That Get Yearbooks Rejected (and How to Fix Them)
- What Advisers Learn the Hard Way About Bleed and Timelines
- Why the Standard Advice on Bleed Gets Half the Story Right
- Request a Sample Before Your Final Files Go to Print
- Sources
Yearbook Bleed Settings: Trim, Bleed, and Safety Margin at a Glance
Three measurements govern every print-ready file, and mixing them up is the single most common reason files bounce back from the printer. Trim size is the final page dimension after cutting. Bleed is the extra artwork extending past the trim line so cutting variance never exposes white paper. Safety margin is the buffer inside the trim line where text and faces need to stay so nothing important gets clipped.
Most printers, including book manufacturers who consistently recommend 3mm bleed, treat 0.125" as the default. To build your document, add 0.125" to each side of the trim dimension. An 8.5" x 11" trim page becomes an 8.75" x 11.25" document with bleed included.
| Element | Standard Value | Notes |
|---|---|---|
| Bleed (all sides) | 0.125" (3mm) | Some printers request 0.25" for special bindings |
| Safety margin | 0.25" from trim | Keep faces, text, and logos inside this line |
| Document size formula | Trim + (bleed x 2) per dimension | Applies to width and height separately |
Pro Tip: Build a template file with bleed and safety guides locked in before your staff starts designing individual spreads. It saves you from re-checking dozens of pages one at a time later.
How to Set Bleed in InDesign, Illustrator, Photoshop, Canva, and Publisher
Every design program handles bleed a little differently, and knowing the quirks up front saves hours of rework.
- Adobe InDesign. Open Document Setup and enter 0.125" in all four bleed fields. Use Facing Pages if you're building spreads that cross the gutter. Turn on the "Slug" area if your printer needs job info outside the trim. When exporting, choose Adobe PDF (Print) and select PDF/X-4 or PDF/X-1a, then check the boxes for bleed marks and crop marks. InDesign generates bleed boxes automatically once the field is set, which is a real advantage over apps that don't.
- Adobe Illustrator. Set bleed in the same Document Setup dialog before you start. If you're using separate artboards for spread pages, align the artboard edges precisely and include marks and bleed at export time, or the pages won't line up after trimming.
- Photoshop. There's no bleed field here. You have to increase canvas size manually by adding 0.25" total to both width and height (0.125" per side), then extend your background art to fill the new canvas. Save as a high-quality PDF, and watch for two pitfalls: flattened resolution dropping below 300 DPI, and leftover transparency that doesn't convert cleanly.
- Canva and other online creators. Look for a bleed toggle in the download or export settings. Turn it on, then physically drag background elements past the visible page edge so nothing gets clipped. Free-tier accounts sometimes compress exported files, so check that photo assets hold their resolution before you send the final export.
- Microsoft Publisher and Word. Neither program has native bleed support. The workaround is increasing your page size manually by the bleed amount on each side and shifting your design outward to compensate. This carries more risk than a dedicated layout program, so export to PDF when finished and confirm the result with your printer before submitting.
Handling Spreads, Gutters, and Center Bleed
Two-page spreads are where bleed mistakes hide until the finished book is in your hands. Set your file up with facing pages from the start so you can see exactly how art crosses the centerline before it gets trimmed and bound.
- Extend images to bleed on the outer edges of the spread, not just the top and bottom.
- Keep faces, key text, and important graphic elements out of the gutter, since binding can shift content near the spine by a few millimeters.
- Add extra safe space near the center fold beyond your standard safety margin, especially for saddle-stitched or perfect-bound books.
- Treat continuous images running across the spine as a special case. Confirm with your printer before designing one, since center bleed isn't standard on every binding method.
Cover Files Follow Different Rules Than Interior Pages
Cover design isn't a bigger version of an interior spread. It's a single flat template covering the back cover, spine, and front cover in one continuous file, and the spine width changes based on page count and paper stock.
- Always start from your printer's cover template rather than building dimensions from scratch, since spine width calculations are specific to your book's thickness.
- Hardcover and softcover formats have different crop tolerances and finishing allowances, so a template built for one won't transfer cleanly to the other.
- Apply the same 0.125" bleed rule to the outer edges of the cover spread, but treat the spine area with extra caution since text or logos placed too close to its edges risk landing on the fold.
- Keep any critical text or photos on the front and back panels inside the safety margin, just as you would on an interior page.
Export Settings and a Print-Ready Preflight Checklist
Getting your file format right matters as much as getting your bleed right. Export as PDF/X-4 or PDF/X-1a whenever your printer supports it, since both formats standardize how bleed, fonts, and color get packaged into the file. Include bleed and crop marks in the export dialog, embed every font rather than linking to system fonts, and apply compression settings appropriate to your image resolution so file size doesn't balloon.
On color: don't convert to CMYK unless your printer specifically requires it; for advice on good contrast and color choices, see design guidance for scannable branded QR codes. Many print shops accept RGB files with an embedded color profile, but confirm this before you export, since guessing wrong here causes color shifts nobody notices until printed copies arrive. Image resolution should sit at 300 DPI measured at final print size, not at whatever size the photo was originally shot.
Run this checklist before every submission:
- Confirm the bleed box extends 0.125" past the trim box on all sides.
- Verify crop marks are turned on in the export settings.
- Check that every font is embedded, not just referenced.
- Confirm color mode matches what your printer requested.
- Check image resolution sits at or above 300 DPI at final size.
- Remove unused layers and flatten transparency effects if your printer's guidelines call for it.
- Scan every spread to confirm nothing important sits inside the safety margin's danger zone.
Printer guidelines commonly frame this as a formal preflight step, and digital submission guides built specifically for yearbook printing walk through nearly identical checkpoints before a file gets approved for press.
The File Errors That Get Yearbooks Rejected (and How to Fix Them)
White edges on a finished page almost always trace back to one root cause: artwork that stops at the trim line instead of extending into the bleed. The fix is simple. Select the background element, drag it past the edge by the full bleed amount, and re-export.
- Wrong export settings. If your printer flags a submission, re-export as PDF/X with bleed and crop marks explicitly checked, rather than trying to patch the existing file.
- Low-resolution images. Swap in the original high-resolution file if you have it. Never scale up a small image to fake resolution, since pixelation shows up clearly in print even when it looks fine on a screen.
- Color and profile mismatches. Confirm your printer's exact color requirements before conversion, and embed the correct profile rather than assuming a default will match.
Pixelation that's invisible at normal screen size becomes obvious the moment it's blown up on an 8.5" x 11" printed page.*
What Advisers Learn the Hard Way About Bleed and Timelines
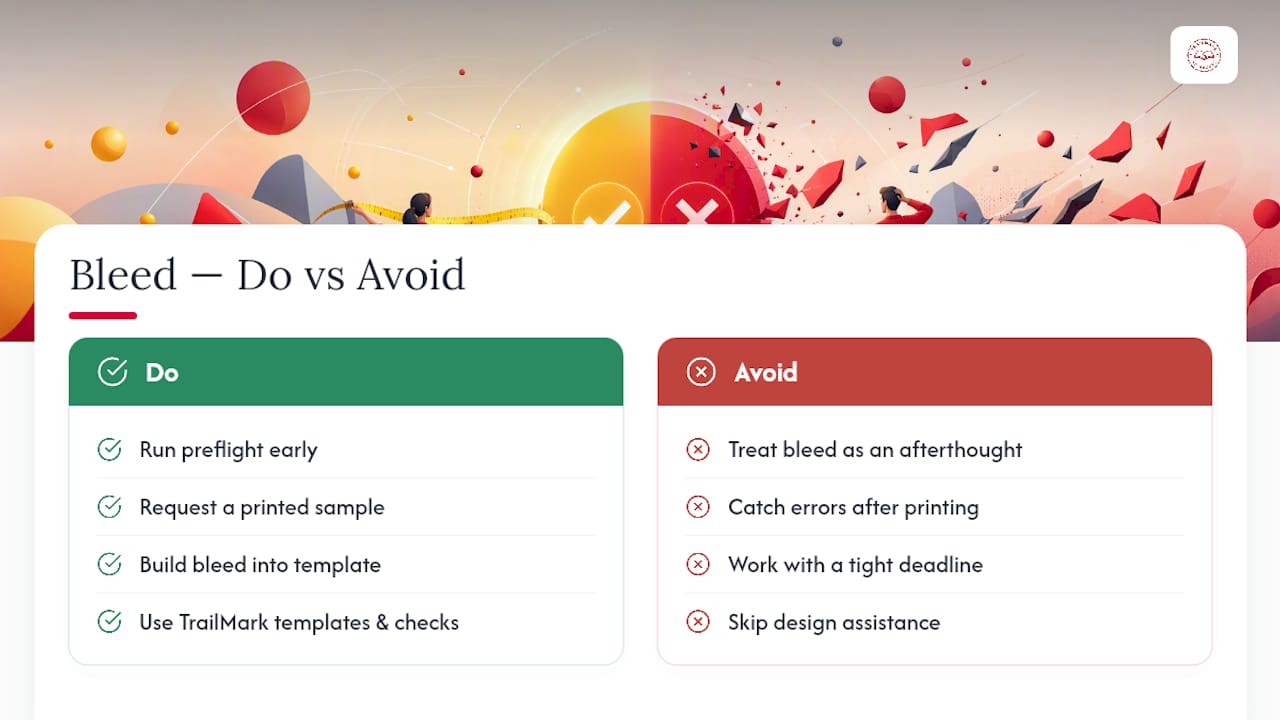
Advisers who run a preflight check and request a printed sample early avoid the scramble that hits schools working against a tight deadline. With a 2 to 3 week turnaround like TrailMark's, catching a bleed error before submission costs a few minutes. Catching it after printing costs your entire schedule.
The most common misstep is treating bleed as an afterthought during final review instead of building it into the template from day one. TrailMark provides ready-made templates, sample checks, and free design assistance specifically to catch these issues before they become reprints.
Why the Standard Advice on Bleed Gets Half the Story Right
Most guides treat bleed as a one-line rule: set it to 0.125" and move on. That's correct, but it skips the part that actually causes rejected files: bleed is only half the equation. The other half is the safety margin, and advisers consistently underestimate how much binding shift and trimming variance eat into a spread before it ever reaches a reader's hands.
The conventional advice also glosses over Photoshop's manual canvas trick, treating it as a footnote when it's actually where most student-run yearbook teams lose hours. If your staff is designing in Photoshop without understanding that bleed has to be added by hand, expect white edges on the first proof.
Prioritize this order: lock your safety margin first, since that protects faces and text no matter what happens at the trim line. Set your bleed second, since it's mechanical once you know the number. Then spend your remaining review time on the boring stuff, fonts embedded, resolution checked, color profile confirmed, because that's where submissions actually die.
— Jace
Request a Sample Before Your Final Files Go to Print
Reading a checklist is one thing. Seeing your actual bleed and safety margin settings hold up on a printed page is another. Trailmarkyearbooks gives schools a way to check that before committing to a full print run, with instant all-inclusive pricing, no sales calls, and no signup required to see what your book will cost.

Every file type your staff already works in gets accepted, whether that's Canva, InDesign, Photoshop exports, or a straight PDF, so switching software isn't a requirement just to hit our bleed specs. Free design assistance is available if your team wants a second set of eyes on a spread before submission, and turnaround runs 2 to 3 weeks with no order deadlines forcing your hand. If you want to see how your bleed and color settings translate to a physical page, request a printed sample before you finalize your files, or browse current production options and pricing to see what fits your school's timeline this year.
Sources
- A Comprehensive Guide to Bleed in Book Printing
- How to Set Up Correct Bleed Settings in Your Design Program
- How to design a yearbook: Complete guide for students & advisors