
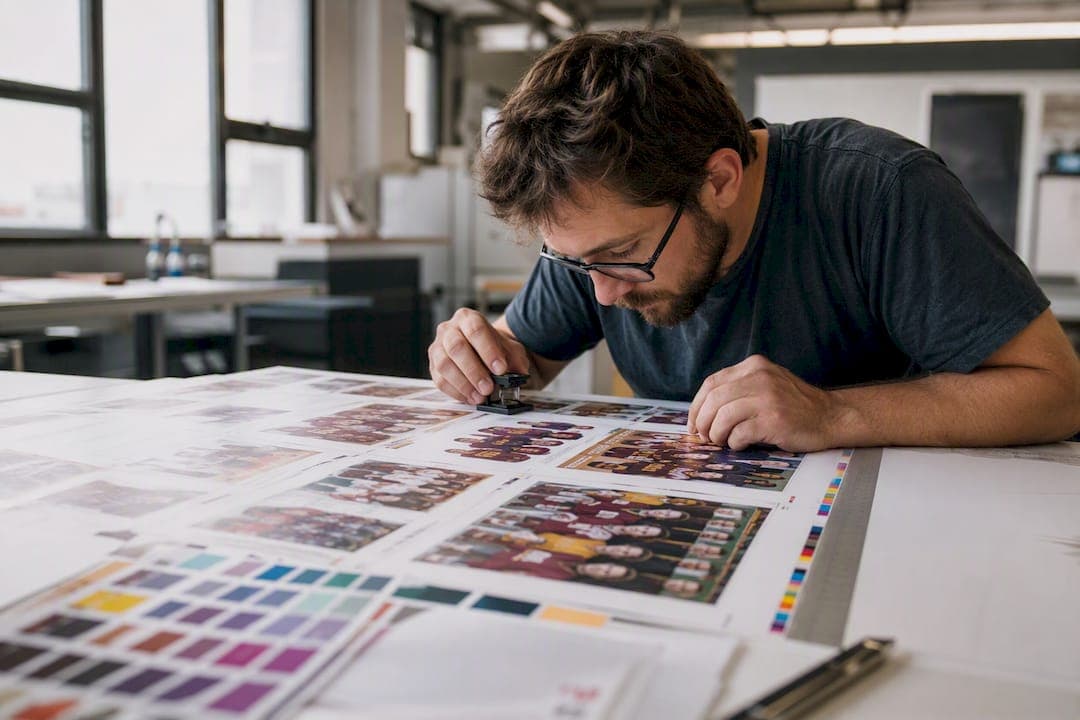
A print-ready yearbook PDF is a press-quality file exported in CMYK at high resolution, typically 300 dpi, with correct bleed and every font embedded. The moment you export it, open the full-size proof and check two things before you upload anything.
- Bleed and crop check: zoom to each spread's edge and confirm images extend past the trim line with no white sliver.
- Fonts and linked images check: open the preflight panel (Acrobat or InDesign) and confirm zero missing fonts or broken image links.
Skip either check and you're gambling on a reprint. Do them now, before the file leaves your computer.
Key Takeaways
A print-ready yearbook PDF succeeds when it combines CMYK color, high resolution, typically 300 dpi images, correct bleed, and fully embedded fonts, verified through preflight before submission.
| Point | Details |
|---|---|
| Export settings first | Use CMYK, high resolution, typically 300 dpi, bleed of 0.125 to 0.25 inches, and PDF/X-1a unless your printer specifies otherwise. |
| Run preflight before upload | Check fonts, linked images, bleed, and ICC profile in Acrobat or InDesign before submitting. |
| Get exact spine measurements | Always request the precise spine width from your printer based on page count and paper stock. |
| Prioritize a bound proof | Approve a printed proof for the cover and photo-heavy spreads since soft proofs miss color and binding issues. |
| Consider managed support | TrailMark Yearbooks offers a 2 to 3 week turnaround, free design help, and on-demand reprints for teams that want backup. |
Table of Contents
- Print Ready Yearbook PDF File Specs You Can't Skip
- Preparing Pages in InDesign, Canva, and Word
- What Should Be On a Preflight Checklist Before Submission?
- Cover and Spine Rules for Hardcover and Softcover Books
- Submitting Your Files and Approving the Final Proof
- Common Print-Ready PDF Problems and Fast Fixes
- TrailMark Yearbooks: Proof Points, Resources, and How We Help
- Get Your Yearbook Printed Without the Guesswork
- Sources
Print Ready Yearbook PDF File Specs You Can't Skip
Printers reject files for the same handful of reasons every year, and almost all of them trace back to five settings.
Color mode: CMYK, not RGB. Screens display in RGB; presses print in CMYK. A photo that looks vivid on your monitor can turn muddy or shift orange on paper if it's never converted. Ask your printer which ICC profile they run (commonly a US Web Coated SWOP profile) and soft-proof against it before you export.
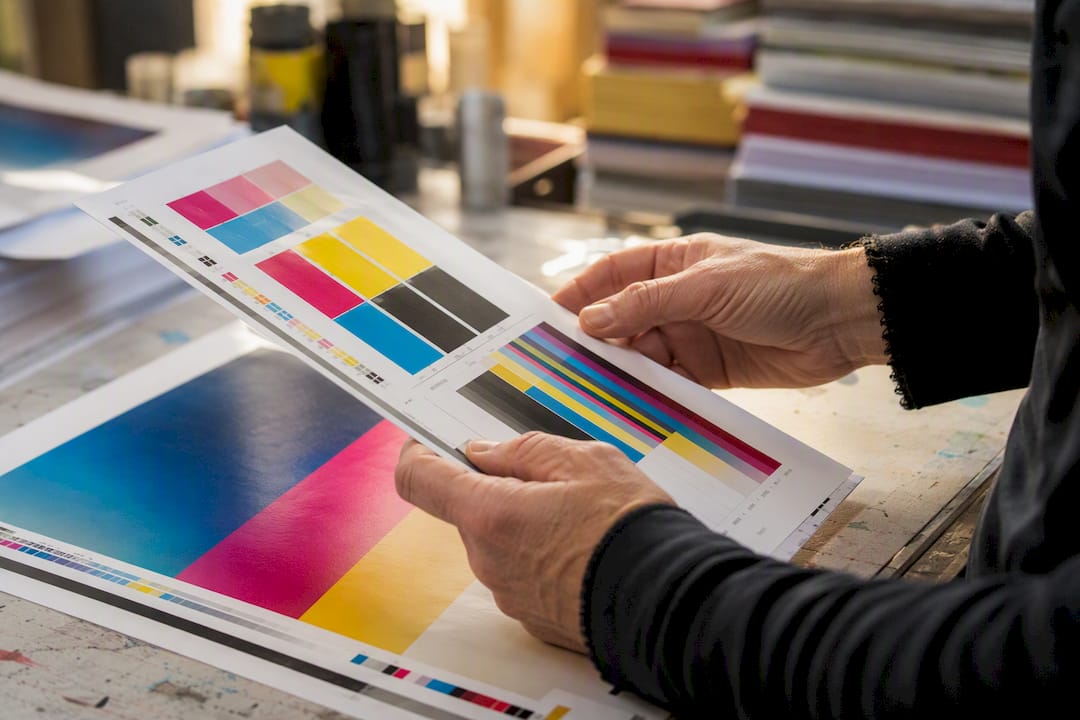
Resolution: high resolution, typically 300 dpi at final size. A yearbook headshot that's 72 dpi on a webpage will look fine in Canva's preview and pixelated the moment it hits a press. Check dpi at the size the image actually appears on the page, not at its original upload size, since scaling a photo up in your layout software drops its effective resolution.
Bleed, trim, and safe zone. Bleed is the extra image area that extends past the final trim edge, an appropriate bleed margin beyond the trim edge as specified by your printer, and it exists so tiny cutting variances never leave a white line at the edge. Trim is the actual final page size. Safe zone is the buffer area inside the trim to avoid clipping important content, where you keep text and faces so nothing important gets clipped.
- PDF/X-1a: strict, CMYK-only, the safest default for most yearbook printers.
- PDF/X-4: allows live transparency and RGB with embedded profiles, useful for complex layered spreads.
- "Press quality" export presets in Acrobat or InDesign approximate PDF/X-1a but aren't identical, so confirm which standard your printer's template guidance actually requires.
Embed every font in the export settings, or convert small, finalized text (like photo captions) to outlines if a font license blocks embedding. Never outline body copy or anything you might still edit. Once it's an outline, it's a shape, not text.
Preparing Pages in InDesign, Canva, and Word
The app matters less than whether you build to the printer's actual template. Here's how each one behaves at export.
- Adobe InDesign. Set your document size to match the printer's template exactly, build in bleed under Document Setup, then export using File > Export > Adobe PDF (Print), selecting PDF/X-1a or the standard your printer names, with crop marks and bleed included.
- Canva. Turn on crop marks and bleed in the download settings before exporting as PDF Print, since Canva's default templates are built for screens first. Re-check every photo's resolution warning icon; Canva will flag low-res images, but it won't fix them for you.
- Word or Publisher. Start from the printer-provided template rather than a blank document, place your content inside its margins, then export or "print to PDF" and re-verify bleed and image sharpness afterward, since these apps handle bleed less predictably than design software.
Whichever tool you use, assemble one continuous PDF for interior pages rather than uploading dozens of single-page files, unless your printer's portal explicitly asks for individual uploads. Name files in a way a stranger could sort them correctly: something like SchoolName_Interior_2026.pdf and SchoolName_Cover_2026.pdf beats final3_v2.pdf every time.
What Should Be On a Preflight Checklist Before Submission?
Run these in order. Each step catches a different failure mode, and doing them out of order wastes time chasing symptoms instead of causes.
- Run a formal preflight in Acrobat's Print Production tool or InDesign's Preflight panel, and fix every error flagged red before touching anything else.
- Verify linked images are all present, embedded or correctly linked, and genuinely high resolution, typically 300 dpi at the size they're placed, not just at upload.
- Confirm bleed exists on every single page, and that faces, jersey numbers, and captions all sit inside the safe zone, not just on the cover.
- Check color conversion and the embedded ICC profile, or ask your printer directly which profile they expect if you're not sure.
- Embed fonts, then spot-check commonly substituted ones like Calibri, Cambria, or any script font, since these silently swap out more often than standard serif or sans fonts.
Pro Tip: Open your final PDF on a second computer that doesn't have your fonts installed. If a font substitutes itself there, it will do the same thing on the printer's system.
Cover and Spine Rules for Hardcover and Softcover Books
Spine width isn't a guess. It's calculated from page count and paper stock, and your printer will give you the exact measurement. Never estimate it yourself.
- Build your cover file to the printer's exact template dimensions, front, back, and spine combined, with bleed and crop marks intact.
- Keep text and logos off the spine fold and at least a half inch from where the spine meets the front and back panels.
- Wrap-around cover images need extra bleed at the fold itself, not just the outer trim edge, or you'll see a visible gap at the spine.
- Ask whether your printer wants the cover as a separate PDF or bundled into one file; policies vary, and guessing wrong causes a resubmission delay.
Submitting Your Files and Approving the Final Proof
Most printers now run an upload portal rather than accepting email attachments, and following their exact naming and file-manifest requirements the first time avoids a support ticket. Confirm what format they want your manifest in before you upload the whole book.
- Soft proofs are fast and free but can't be trusted for color accuracy. Monitors vary too much.
- A printed, bound proof of the cover and your most photo-heavy spreads catches binding and color problems a screen never will.
- Turnaround on proofs typically runs a few business days; rush processing is usually available but should be requested up front, not after you're already behind.
- Name one final approver. A single person signs off, in writing, whether by email or a portal checkbox, so there's a record if something prints wrong.
Common Print-Ready PDF Problems and Fast Fixes
Most submission failures fall into four repeatable buckets, and each has a quick fix once you know what you're looking at.
- Missing fonts: reinstall the font and re-export, or embed it directly. Only outline captions if the page is truly final.
- Low-resolution images: swap in the original camera file instead of a downloaded or resized copy, or crop less aggressively so the dpi holds at final size.
- Color shifts: soft-proof against your printer's ICC profile before export, and confirm whether the conversion happened automatically or needs a manual step.
- Bleed or trim errors: check whether you exported single pages or full spreads, since bleed settings often break when that toggle is set wrong. A quick JPG-to-PDF conversion tool can also help when you just need to fix one isolated image page fast.
TrailMark Yearbooks: Proof Points, Resources, and How We Help
Getting every spread through preflight is one job. Managing 40 advisers, 300 student photos, and a hard deadline is another. TrailMark's proofing guide for advisers walks through exactly what to check before you approve.
- TrailMark typically offers a production turnaround measured in a few weeks with free design assistance for teams building in Canva or InDesign.
- On-demand reprints mean a missed error doesn't sink your whole print run.
- Request a printed sample through our Request A Sample page before committing a full order, or reach out for full-service design help if your team is stretched thin.
One habit worth adopting before every submission
If your budget allows even one physical proof, spend it on the cover and your busiest spreads, not the whole book. Soft proofs miss binding and color problems that a bound copy in your hands catches instantly. Our proofing guide breaks down exactly which pages to prioritize when funds are tight.
— Jace
Get Your Yearbook Printed Without the Guesswork
TrailMark Yearbooks turns everything above into a straightforward next step instead of a solo project. You get instant, all-inclusive pricing online with no sales call and no hidden line items, a 2 to 3 week turnaround, and free design help whether your team works in Canva, InDesign, or our own online creator.

That matters most for the coordinator who just spent a weekend fixing bleed errors and color shifts and doesn't want to repeat the exercise next year. TrailMark's production services include on-demand reprints, so one overlooked caption doesn't force a reprint of the entire run. If you'd rather see the paper stock and print quality before committing your school's budget, request a printed sample and compare it against last year's book.