
Handling yearbook printing proofs is the final quality checkpoint between your finished design and 500 printed books landing in students' hands. A proof is the printer's test version of your yearbook, used to catch errors before full production runs. Miss a misspelled name on a proof and it appears in every copy. Skip a color check and your cover looks nothing like the screen version. This guide walks you through the yearbook proofing process from proof types to sign-off, so your book ships right the first time.
What types of proofs should you use for yearbooks?
Two proof types define the yearbook review process: soft proofs and hard proofs. Each serves a different purpose, and using only one is a common mistake.
A soft proof is a digital file, usually a PDF, that shows your layout, text, and images on screen. Soft proofs work well for verifying content and layout. They are fast, free to distribute, and easy to annotate. Every adviser on your team can review the same file simultaneously, which speeds up the content review stage considerably.

A hard proof is a physical, printed copy produced by the printer before the full press run. Hard proofs are the only reliable way to verify color fidelity, paper texture, and how specialty finishes like gloss or matte actually look. Industry practice recommends requesting hard proofs for color-critical components, especially covers and full-bleed photo spreads.
The critical distinction: a digital proof cannot replicate physical book qualities like color accuracy, paper feel, or specialty finishes. Advisers who expect their PDF to show exactly how the printed cover will look often trigger unnecessary revision rounds when the physical book arrives slightly different. Set that expectation early with your team.
| Proof Type | Best For | Limitations |
|---|---|---|
| Soft proof (PDF) | Content, layout, text accuracy | Cannot verify color, paper, or finish |
| Hard proof (physical) | Color fidelity, cover, paper texture | Costs more, takes longer to receive |
Pro Tip: Request a hard proof for your cover and any full-bleed photo pages every time. Use soft proofs for all interior text and layout passes. This combination saves time and catches the errors that matter most.
How to build a step-by-step yearbook proofing workflow
A structured workflow is the difference between catching a wrong graduation date before print and explaining it to parents after delivery. The most effective approach uses multiple passes, multiple reviewers, and a clear sign-off chain.
1. First pass: spelling and grammar Assign one proofreader exclusively to text. They check every caption, headline, body copy block, and label for spelling and grammar errors. This person should not be the designer. Fresh eyes catch what the creator's brain auto-corrects.
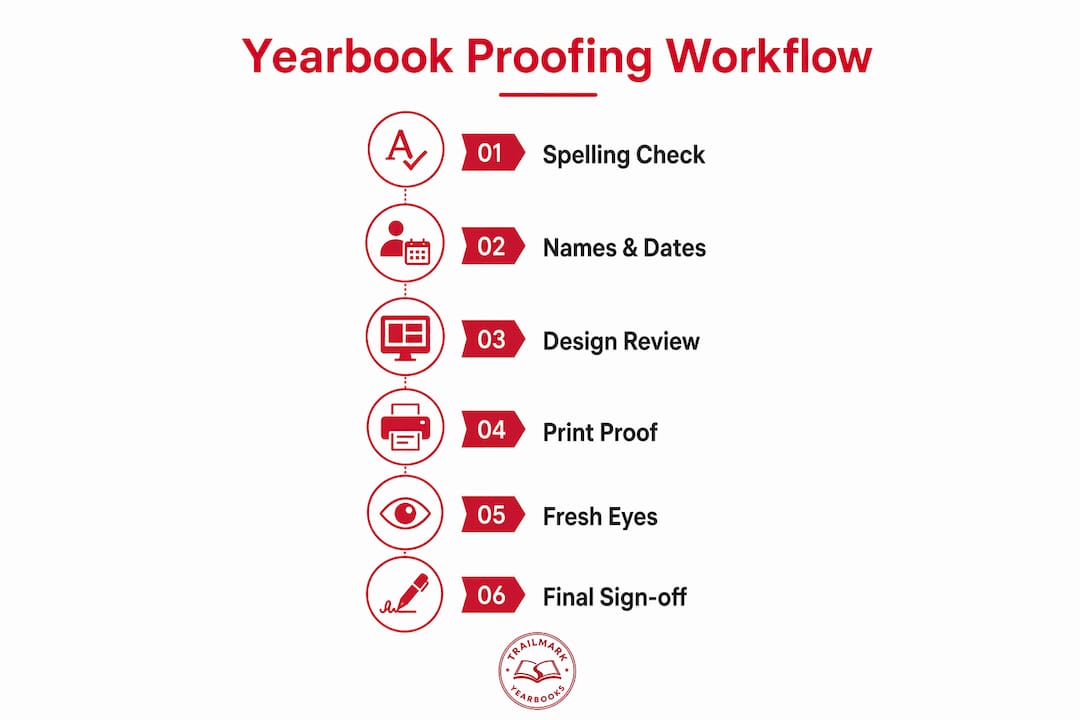
2. Second pass: names, captions, and dates A second reviewer cross-checks every student name, staff name, event caption, game score, and date against your source records. Using three different staff reviewers, each focused on a separate category, dramatically improves error detection compared to one person reviewing everything.
3. Third pass: design and layout A third reviewer checks visual consistency: margins, bleed areas, image resolution, font consistency, and page numbering. This pass also covers technical details. Phone numbers, URLs, and QR codes must be individually tested. Dial the number. Type the URL. Scan the QR code. A broken link in a printed book cannot be fixed after the fact.
4. Print spreads on paper Printing spreads on actual paper reveals layout issues that screens consistently hide. Awkward text wraps, images that feel too close to the gutter, and spacing inconsistencies all become obvious on a printed page. Even low-resolution printouts from a standard office printer catch problems a monitor does not.
5. Fresh-eyes final pass Before submitting for print, have someone who has not reviewed any previous version read through the full proof. This person catches errors that familiar reviewers have stopped seeing. Schedule this pass at least 48 hours before your submission deadline.
6. Version control and sign-off All non-final proof files should be watermarked as "DRAFT" or "PROOF" to prevent anyone from accidentally sending the wrong version to print. Only one designated final approver, typically the yearbook adviser, should authorize the file for production. Document that approval in writing.
Pro Tip: Keep a shared folder with clearly labeled versions: "Proof_v1," "Proof_v2," and "FINAL_Approved." Delete or archive all draft versions once the final is signed off. One misnamed file sent to the printer costs more than the entire proofing process.
What are the biggest pitfalls in reviewing printing proofs?
The most expensive mistakes in the yearbook proofing process rarely come from careless reviewers. They come from broken systems.
Late-stage edits after approval are the top source of costly errors. Once a proof is signed off, any change, even a single word, requires a new proof cycle. School liability shifts to the school after final sign-off, so unauthorized edits made after approval create both financial and legal exposure. Establish a hard rule: no edits after the final approver signs.
Version confusion is the second major risk. When multiple staff members save and share files without a naming system, the wrong version gets submitted. Watermarking and a single shared folder with locked access after approval solves this directly.
Revision overload slows production and burns out your team. Effective approval workflows limit revision rounds to two or three, with each round focused on a specific type of change: big-picture fixes first, then verification of corrections, then final polish. Unlimited open-ended feedback rounds guarantee missed deadlines.
Documented proof approvals are not just good practice. They are your school's protection if a dispute arises over what was approved and when.
Mismatched expectations about digital proofs cause frustration that slows the process. When a staff member sees the PDF and approves it, then objects to the printed color, the issue is not a printer error. It is a gap in understanding what a soft proof can and cannot show. Brief your entire team on this distinction before the first proof goes out.
Archiving every proof version, every annotation, and every sign-off email protects your school. Good record-keeping practices create a clear paper trail if any question arises about what was approved.
What tools and best practices improve the approval process?
The right tools reduce confusion and keep your team moving toward a deadline. The right practices keep feedback focused and prevent revision overload.
Proofing and annotation tools used by yearbook teams include Adobe Acrobat for PDF annotation, Google Drive for shared file access and comment threads, and Canva's built-in comment feature for teams designing directly in that platform. Each tool lets reviewers mark specific locations on a page rather than writing vague feedback like "fix the photo on page 12."
Role assignments prevent the most common workflow breakdown: everyone reviewing everything with no clear authority. Assign roles explicitly.
- Content reviewer: checks all text for accuracy
- Design reviewer: checks layout, images, and technical specs
- Fact-checker: verifies names, dates, and scores against source records
- Final approver: the only person authorized to submit for print
Deadline management runs parallel to proof rounds. Each proof round needs its own deadline, not just the final submission date. Build your deadline management schedule backward from the printer's submission date, allowing at least three to five business days per proof round.
Feedback discipline keeps revision rounds clean. Require all feedback to reference a specific page number and element. Vague comments like "something looks off" create extra work. Specific comments like "Page 14, caption under left photo: wrong student name" get fixed in one pass.
Key Takeaways
Handling yearbook printing proofs correctly requires a multi-pass review system, clear role assignments, strict version control, and documented sign-off before any file goes to print.
| Point | Details |
|---|---|
| Use both proof types | Soft proofs verify content; hard proofs verify color, paper, and finish. |
| Run three separate passes | Assign spelling, names/captions, and design to three different reviewers. |
| Print spreads on paper | Physical printouts reveal layout errors that screens consistently miss. |
| Limit revision rounds | Cap rounds at two or three with a specific focus each time to stay on schedule. |
| Document every sign-off | Written approval records protect your school from liability after submission. |
What I've learned from years of watching proof reviews go wrong
The single most skipped step in the entire proofing process is printing spreads on paper. Every adviser I have talked to knows they should do it. Almost none of them do it consistently. The reason is always the same: it feels redundant when you have a PDF on a large monitor. It is not redundant. The moment you hold a printed spread in your hands, you see things. A photo that looked fine on screen is clearly too dark. A caption that read cleanly in the PDF is cramped against the gutter. Screens lie, and they lie convincingly.
The second thing I have seen trip up even experienced advisers is the expectation gap around digital proofs. A staff member approves the PDF, the books arrive, and suddenly the cover color "looks wrong." The color was never going to match the screen exactly. That is not a printer failure. That is what happens when you skip the hard proof on a color-critical page. Request the hard proof for your cover. Every time. No exceptions.
Version control sounds boring until you send the wrong file to print. I have seen it happen. A well-meaning staff member emails "the final version" to the printer, and it turns out to be Proof_v3, not the approved final. Watermark every draft. Lock the final. One approver, one authorized file.
The proofing process is where your yearbook either earns its quality or loses it. Treat it like the production milestone it is, not an administrative formality.
— Jace
How Trailmarkyearbooks supports your proof review process
Trailmarkyearbooks builds the proofing process into every order, so you are never guessing about what your finished book will look like.

Trailmarkyearbooks provides both digital proofs for content review and physical samples so you can assess actual print quality, paper feel, and color before committing to a full run. Their team, backed by 50+ years of combined experience, guides advisers through each proof stage and answers questions before errors reach production. If you want to see exactly what your yearbook will look and feel like before you approve a single page, request a sample and review real print quality firsthand. You can also connect directly with a yearbook representative to get answers specific to your school's timeline and design.
FAQ
What is a yearbook printing proof?
A yearbook printing proof is a test version of your book produced before the full press run. It lets you verify content, layout, color, and print quality before committing to production.
When should you request a hard proof vs. a digital proof?
Request a hard proof for color-critical pages like covers and full-bleed photo spreads. Use digital PDF proofs for all content and layout verification passes.
How many people should review a yearbook proof?
At least three reviewers should check each proof, with each person focused on a separate category: spelling and grammar, names and captions, and design and layout.
What happens if you find an error after signing off on a proof?
After sign-off, school liability shifts to the school for any visible errors. Any change after approval requires a new proof cycle and may delay production, so thorough review before sign-off is critical.
How do you prevent version control mistakes during proofing?
Watermark all draft files as "DRAFT" or "PROOF," store versions in a single shared folder with clear naming, and designate one final approver as the only person authorized to submit the file for print.