
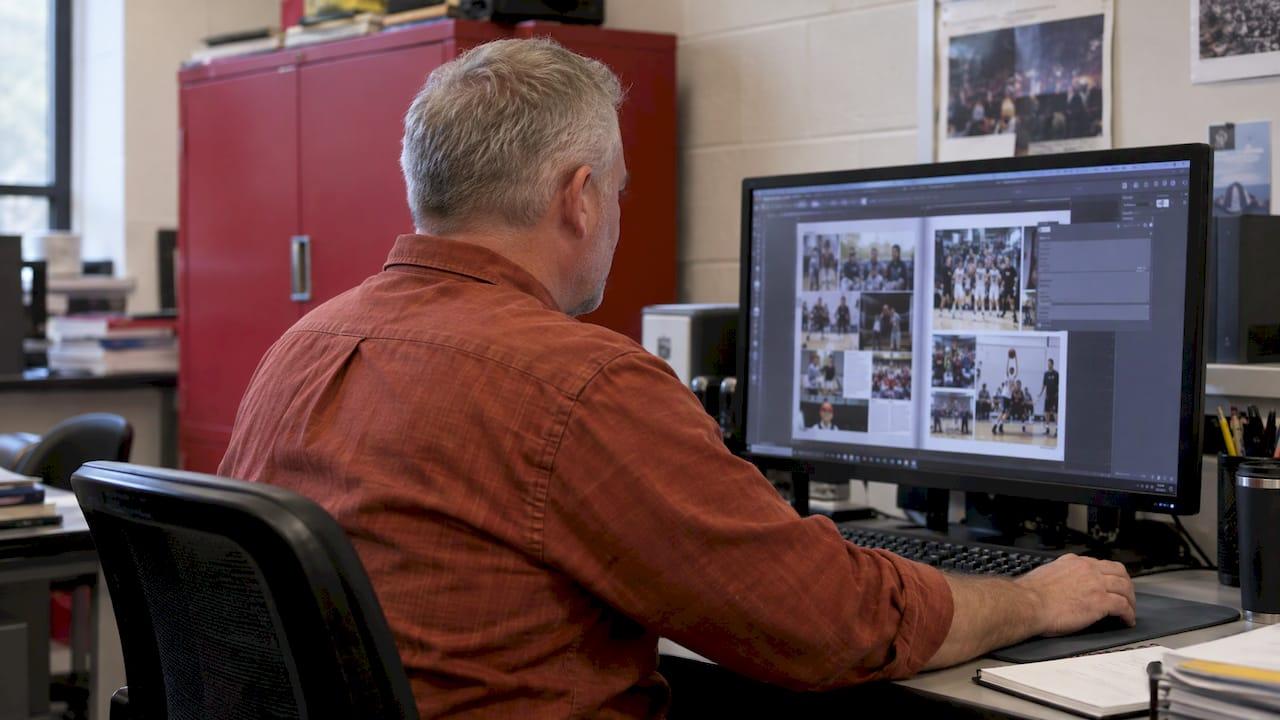
To package a yearbook in InDesign, fix every preflight error, choose File > Package, keep fonts, linked graphics, IDML and a PDF checked, save the folder, then ZIP it and send it to your printer. That one command gathers the layout, every photo and every font into a single folder, so the printer opens the same book you built. This guide walks through each step in the order a yearbook adviser needs it, with the checks that prevent the usual late-stage surprises.
TL;DR
- Run Preflight first (Window > Output > Preflight) and clear missing links, missing fonts and overset text before you package.
- Use File > Package with fonts, linked graphics, IDML and a print-ready PDF all included. InDesign also writes an Instructions.txt report.
- Adobe Fonts are not copied into the package. Use a font the printer can receive, or confirm how your printer handles them.
- Send the whole package as one ZIP, plus a reference PDF so the printer can see what you intended.
- Packaging a 200-page book takes minutes. Finding a missing photo after the proof does not.
Table of Contents
- Why packaging matters for a yearbook
- What to do before you package
- How to package your yearbook in InDesign
- What ends up in the package folder
- Fonts and linked images: where packaging falls short
- Reading the package report
- Package or PDF: what to send your printer
- Sending the files
- Our perspective on packaging
- Get your files printed without the guesswork
- A final pre-send checklist
- FAQ
- Sources
Why packaging matters for a yearbook
A yearbook is the worst case for InDesign's linked-file system. A single book can pull in hundreds or thousands of student photos, club images, sports shots and ads, and none of them live inside the .indd file. InDesign stores only a pointer to each image. Images, graphics and fonts are linked outside the InDesign file, so the layout alone is not enough for anyone else to open it correctly.
Packaging solves that by collecting everything into one folder. As a campus print shop explains, packaging compiles the elements into one folder so the printer has what it needs for a clean job. Without it, a printer's computer swaps in substitute fonts, text reflows, and pages that looked right on your laptop shift by a line or a word.

For advisers there is a second reason. Yearbook files are often built by several student editors on different machines, with photos saved to desktops, flash drives and shared drives. Packaging is the moment you find out which images are still sitting on a student's laptop.
What to do before you package
Packaging copies whatever is wrong with your file, so fix problems first. If you want the full checklist, our InDesign yearbook preflight guide covers it in depth. The short version follows.
Run the Preflight panel
Open Window > Output > Preflight. Adobe's guidance is to use this panel to identify and fix missing links, missing fonts or overset text before you package. Set the profile to your whole document, not just a page range, and scroll through every error until the panel shows none.
The errors you will see most often in a yearbook:
- Missing links: a photo was moved, renamed or deleted after it was placed.
- Modified links: someone edited the original image after placing it, so the layout shows an older version.
- Overset text: a caption or quote that no longer fits its frame. Overset text is easy to miss because the frame looks complete.
- Missing fonts: a font on one student's computer that is not on yours.
Check resolution, color and bleed
Three settings cause most yearbook reprints. Adobe's preparation advice is to set images to 300 DPI, convert colors to CMYK, and finalize bleeds and trim lines. Our own guides go deeper on each:
- Photos: what students and advisers need to know about photo resolution, and common photo quality issues.
- Bleed: 0.125-inch bleed settings and a checklist so backgrounds and photos run cleanly off the trim edge.
- Document setup from the start: setting up an InDesign yearbook template the right way.
One more detail: text settings can change when the file opens on another computer. Hyphenation exceptions and external dictionary links should be managed or avoided so text does not reflow on the printer's machine. If you have customized hyphenation for names, flip through the pages with names and long captions once more after packaging.
How to package your yearbook in InDesign
Here is the process, based on Adobe's instructions for packaging files.
- Save your document. Save the final .indd under a clear name, such as the school name and year.
- Open the Package dialog. Choose File > Package. InDesign opens a summary of fonts, links, colors and print settings.
- Resolve any alerts. If the summary shows an alert icon, cancel, fix the file or font it names, and run Preflight again until it is clean.
- Click Package. Fill in the printing instructions if you wish: your name, school, phone and email. These go into the Instructions.txt file.
- Choose your options. Keep these checked: copy fonts, copy linked graphics, update graphic links in package, and include IDML and PDF.
- Name and save the folder. Pick a location you will remember, then click Package again.
- Open the folder and check it. Make sure it contains what you expect (next section) before you send anything.
The options that matter
| Option | What it does | Keep it on? |
|---|---|---|
| Copy fonts | Collects font files into a Document Fonts folder | Yes |
| Copy linked graphics | Collects every placed image into a Links folder | Yes |
| Update graphic links in package | Points the packaged layout at the copies, not your originals | Yes |
| Include IDML | Adds a version that opens in other InDesign versions | Yes |
| Include PDF | Adds a print-ready PDF as a visual reference | Yes |
The "update links" option deserves a note. It relinks the packaged copy only, so your working file remains connected to your original photo folders. Always do your later edits in one place, and re-package from there.
What ends up in the package folder
A complete package holds the INDD or IDML file, a folder of linked graphics, a folder of fonts, a print-ready PDF and an Instructions.txt file with the project summary and printing specifications. The Links and Document Fonts subfolders are created automatically.
Open the folder and spot-check:
- Is the number of files in Links close to the number of images you expect?
- Does Document Fonts contain every typeface you used for headings, captions and folios?
- Does the PDF open and look like your finished pages?
- Is Instructions.txt readable, with your contact details?
Fonts and linked images: where packaging falls short
Packaging is reliable, but it has edges worth knowing.
Adobe Fonts. InDesign copies fonts into the package except Adobe Fonts. According to Adobe, Adobe Fonts are not included and sync automatically through Creative Cloud when the file is opened on another machine with a Creative Cloud account. If your yearbook uses Adobe Fonts, tell the printer in your notes so they are not surprised by a missing-font warning on a computer without that sync.
Fonts inside placed art. A university print office notes that InDesign may not collect every font used inside placed Illustrator graphics. If your cover or divider pages use artwork from Illustrator, outline the type there, or keep the font files handy and send them with the package. Our guide to designing yearbooks in Illustrator covers bleed and CMYK for those files.
Canva pages. If part of your book started in Canva, export it and bring it in before packaging. We explain the options in converting Canva to InDesign or sending it to us.

Reading the package report
Before InDesign builds the folder, it shows a summary. Treat it like a final inspection. Adobe says to look for alert icons, and if errors exist, cancel the package, fix the specific file or font issue, and re-run Preflight until none remain. A missing image shows a question mark in the status column; an unavailable font is flagged in the fonts list.
A practical routine for advisers:
- Sort the links list by status and deal with every non-OK item.
- Look at the fonts list and remove any typeface used once by accident, such as a stray default font in an empty frame.
- Check the colors summary for spot colors you did not intend. Unless a design uses them on purpose, everything should be CMYK.
- Glance at the print settings summary for page size and bleed before confirming.
Package or PDF: what to send your printer
The short answer: send both. A print-ready PDF alone is the cleanest handoff when your printer asks for it. A packaged folder alone leaves the printer to produce the PDF. One campus print shop recommends sending the packaged InDesign files and a reference PDF, using Press Quality or PDF/X-1a. A PDF in the package also gives the printer a visual reference for how the pages should look.
If you are building the PDF yourself, read what makes a print-ready yearbook PDF correct. A saved export preset removes guesswork, and we explain one in the InDesign preset that stops yearbook reprints. For the whole workflow, see our yearbook print quality guide.
Before you send, confirm with your printer:
- Page count and trim size
- Bleed amount
- Cover file: separate or part of the same document
- Whether they want the package, the PDF, or both
- Which PDF preset they prefer
Sending the files
Once the folder is built, compress it. A university printing office advises you to ZIP the folder and submit it through the online order tool. A single ZIP keeps the Links and Document Fonts folders together and avoids files arriving out of order.
A few habits that help:
- Name the ZIP with school, year and version, for example
Lincoln-MS-2027-final.zip. - Do not rename files inside the package after it is built. Renaming breaks links.
- If your upload has a size limit, ask the printer for a large-file option instead of removing images from the package.
- Keep a copy of the exact ZIP you sent. If a question comes up, you both look at the same files.
Our perspective on packaging
We see the same pattern every year: the schools that struggle at the end of a project are rarely the ones with weak design. They are the ones whose files are scattered across student laptops.
Packaging is the single best habit to build into your production calendar. Do a test package early, when the book is a third finished, and you will find the missing fonts and stray links while there is still plenty of time. Do it again when the pages are final.
That is also why we built our service around support for advisers. You can design in InDesign, Illustrator, Canva or our online creator, and our team helps you get the files ready. With more than 50 years of combined experience on our staff, we have seen most of the problems that show up in a package report, and we would rather help you fix them in September than in the last week.
Jace
Get your files printed without the guesswork
If you are packaging a yearbook right now, we can take the files from there. TrailMark offers instant all-inclusive pricing online with no signup and no sales pitch, shipping included, a 2 to 3 week turnaround, and no order deadlines, plus free design assistance if you want a second pair of eyes on your files.
See yearbook production services and instant pricing to price your book. Our published rates list options such as perfect bound soft cover at $1.60 per book, 150 point board hard cover at $1.50 per book, and two printed proof books for $100, shipping included.
A final pre-send checklist
Use this as the last pass on every submission:
- Preflight shows no errors on the full document.
- Photos are at 300 DPI at their placed size, and colors are CMYK.
- Bleed is set and extends past the trim on every page that needs it.
- Package folder includes Links, Document Fonts, INDD or IDML, PDF and Instructions.txt.
- Adobe Fonts, if used, are noted for the printer.
- The folder is ZIPped and named clearly.
- A reference PDF is included.
- Your contact details are in the instructions file.
FAQ
Should I send the packaged folder or just a PDF?
Send both when you can. The PDF shows the printer how the pages should look, and the package lets them check fonts and images if something appears off. Confirm with your printer which one they treat as the production file.
Why does InDesign say fonts are missing when I package?
A font used in the layout is not installed or activated on your computer. Cancel the package, replace or install the font, and run Preflight again. Remember that Adobe Fonts are not copied into the package, and fonts inside placed Illustrator art may not be collected.
Do I need to include the IDML file?
It is a good idea. IDML opens in other versions of InDesign, which helps if your printer or a future adviser uses a different release. It takes one checkbox in the Package dialog.
What if a linked image shows a question mark?
The image was moved, renamed or deleted after you placed it. Open the Links panel, relink it to the correct file, and run Preflight again before packaging.
Sources
- Package InDesign files for output, Adobe
- 5 Simple Steps for Flawless Printing Results, NDSU Print and Copy Services
- How to Package Adobe InDesign Files, Ohio University
- Printing Resources: Packaging and Zipping, Iowa State University