

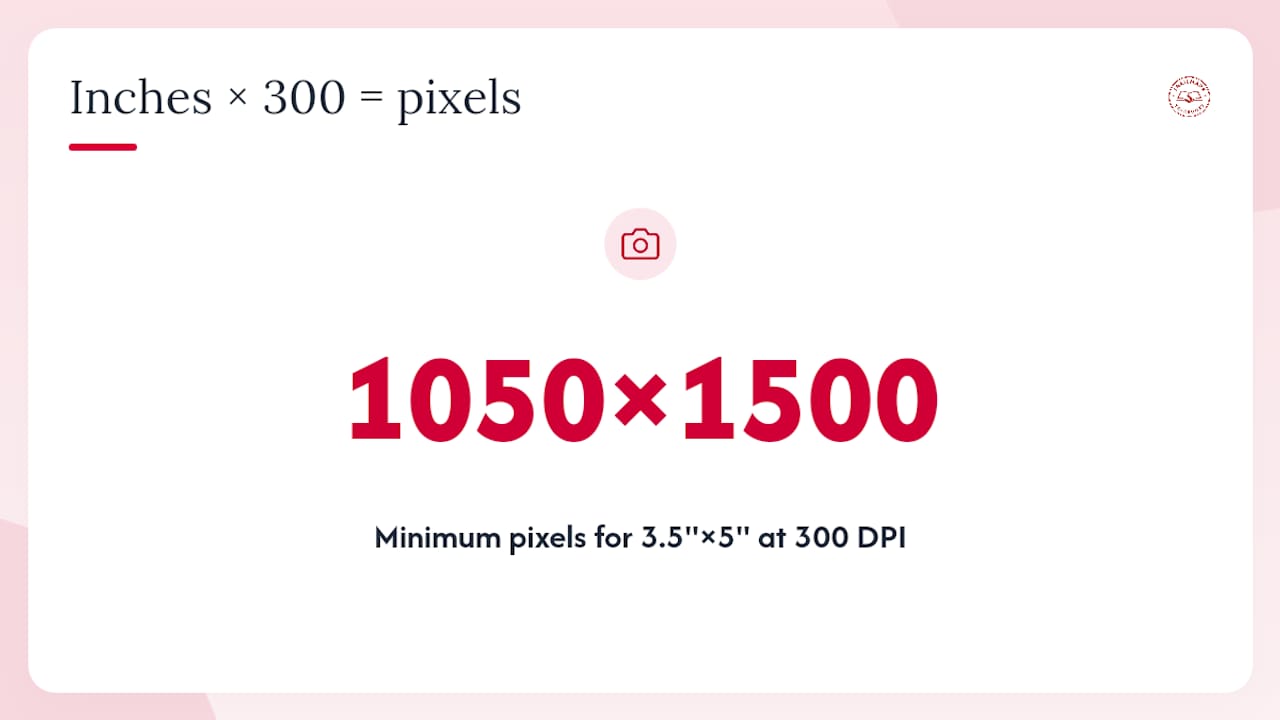
For crisp yearbook photos, aim for 300 DPI (dots per inch) at the printed size. The formula is simple: inches × DPI = pixels needed. A 2.25"×3" senior portrait slot at 300 DPI requires at least 675×900 pixels. A 3.5"×5" photo slot needs 1,050×1,500 pixels. Dropping below a low DPI threshold causes blurriness visible to anyone flipping through the book.
Quick actions before you upload any photo:
- Check the pixel dimensions (not just the file size) against the formula above.
- Never enlarge a small image to fill a larger slot — it lowers effective DPI.
- If a photo falls short, find the original high-resolution file or reshoot.
- Crop conservatively; every pixel you cut reduces the resolution available for print.
Key Takeaways
The single most important rule for yearbook photos: supply images at 300 DPI at the final printed size, calculated as inches × 300 = minimum pixels needed per dimension.
| Point | Details |
|---|---|
| 300 DPI is the print target | Multiply each print dimension in inches by 300 to find the minimum pixel count needed. |
| 150 DPI is the visible floor | Images below roughly 150 DPI will appear blurry in print; replace or use a smaller slot. |
| Effective DPI changes with cropping | Every crop reduces available pixels; check DPI after placing and cropping, not before. |
| Use originals, not web copies | Screenshots and social media images are 72–96 PPI and will fail preflight checks. |
| Trailmarkyearbooks checks images for you | A dedicated adviser and free preflight support catch resolution issues before printing. |
Table of Contents
- What do pixels, DPI, and PPI actually mean for yearbook image quality?
- How yearbook systems compute image quality from pixels and print size
- How to calculate the pixel dimensions you need for common yearbook print sizes
- What file formats and color settings work best for yearbook printing
- How to check an image's resolution on Windows, macOS, and Photoshop
- Practical fixes when photos are too small or low quality
- What vendors check during preflight and how Trailmarkyearbooks supports advisers
- The one resolution rule that actually matters in practice
- Trailmarkyearbooks makes photo quality checks part of the process
- Sources
What do pixels, DPI, and PPI actually mean for yearbook image quality?
Adobe defines resolution as the number of pixels in an image — more pixels means more detail available for print. Here is how the core terms break down:
- Pixels: The individual colored squares that make up a digital image. A photo that is 2,000 pixels wide and 3,000 pixels tall contains 6 million pixels total.
- PPI (pixels per inch): How densely those pixels are packed when printed. This is the number that controls sharpness on paper.
- DPI (dots per inch): Technically refers to the printer's ink dots, but in everyday yearbook use, DPI and PPI are used interchangeably.
- Megapixels: Your camera's sensor output in millions of pixels. A 12 MP camera produces roughly 4,000×3,000 pixels — plenty for most yearbook slots, unless you crop heavily.
The distinction between actual resolution and effective resolution is where most problems start. Actual resolution is the pixel count in the original file. Effective resolution is what remains after you place and crop the image into a specific layout slot. Shrink a photo to fit a smaller space and effective DPI rises. Stretch it to fill a larger slot and effective DPI drops, sometimes below the acceptable threshold.
The web standard of 72 PPI looks fine on a screen but prints poorly. At 72 PPI, a 675-pixel-wide image would print at nearly 9.4 inches — far too large and far too soft. At 300 PPI, that same image prints at a sharp 2.25 inches.
Pro Tip: When you resize an image in your layout software, always check the effective DPI afterward. Dragging a photo box larger in a template is one of the most common ways editors accidentally push a photo below 300 DPI without realizing it.
How yearbook systems compute image quality from pixels and print size
Yearbook editors and preflight systems do not guess at quality — they calculate it. Memento Yearbook's documentation confirms that yearbooks are typically rendered at 300 DPI and that their editor flags images below the publisher's quality standard.
The computation works like this:
- Read pixel dimensions from the uploaded file (e.g., 800 pixels wide).
- Determine the placed print size in the layout (e.g., 3 inches wide).
- Divide pixels by inches: 800 ÷ 3 = approximately 267 DPI.
- Compare to thresholds and flag accordingly.
Common warning thresholds most systems use:
- ~300 DPI: Green or "OK" — safe for print.
- ~200–250 DPI: Caution or orange — may print acceptably but is borderline.
- Below 150 DPI: Red or flagged — visibly low quality; replacement or resizing required.
Cropping changes the math. If you start with a 1,200×1,600 pixel image and crop it to 800×1,000 pixels before placing it in a 3-inch slot, the system works from the cropped 800 pixels, not the original 1,200. Rotating an image does not reduce pixel count, but it does change which dimension maps to width versus height in the slot — worth double-checking when you rotate a portrait into a landscape frame.
How to calculate the pixel dimensions you need for common yearbook print sizes
The formula: print size in inches × 300 = pixels needed. Always round up to avoid falling just short.
Digital Photography School explains how pixel dimensions and megapixels map directly to print size — a 12 MP photo can still fall short if it has been heavily cropped for a large placement.
A few practical notes on aspect ratio: a 3.5"×5" slot has a different width-to-height ratio than a standard smartphone photo (which is often 4:3 or 16:9). If your image does not match the slot's aspect ratio, the layout software will either crop the edges or leave empty space. Always check which dimension is the limiting factor and make sure that dimension meets the 300 DPI minimum. When your image is landscape but the slot is portrait, rotate before placing and recalculate.
What file formats and color settings work best for yearbook printing
File format: JPEG is the standard for yearbook photos. Save at the highest quality setting (typically 10–12 on a 0–12 scale in Photoshop) to minimize compression artifacts. TIFF is preferable when a vendor specifically requests it or when you need to preserve an uncompressed master. PNG works for graphics and logos but is not ideal for photographs going to print.
Color space: Submit photos in sRGB unless your vendor explicitly requests CMYK with an embedded profile. Most school yearbook printers handle the sRGB-to-CMYK conversion internally. Sending an untagged file or a file with a mismatched profile can shift colors noticeably — blues may print purple, and skin tones can go muddy. Embedding the sRGB profile when you export takes one checkbox and prevents that problem.
Pro Tip: Never re-save a JPEG multiple times. Each save re-compresses the file and introduces additional artifacts. Work from the original, make your edits once, and export a final copy.
Export checklist before upload: Find useful printable sheets like PDFs graphic organizers to help organize your photo preparation process.
- Resolution set to 300 PPI.
- Pixel dimensions meet or exceed the slot requirements.
- Color profile embedded (sRGB unless instructed otherwise).
- Saved as JPEG at high quality or TIFF if required.
- Filename follows your adviser's naming convention (e.g.,
LastName_FirstName_Grade.jpg).
The Trailmarkyearbooks DPI guide walks through these export settings in a yearbook-specific context and is worth bookmarking for your production folder.
How to check an image's resolution on Windows, macOS, and Photoshop
Verifying resolution before upload takes under a minute on any device.
- Windows: Right-click the image file → select Properties → click the Details tab. Look for "Image width" and "Image height" in pixels, plus "Horizontal resolution" and "Vertical resolution" in DPI. Apply the formula yourself if the DPI shown reflects the file's embedded value rather than its placed print size.
- macOS Preview: Open the image → go to Tools → Adjust Size. The dialog shows pixel dimensions and resolution in PPI. You can also press Command+I (Inspector) to see file details quickly.
- Adobe Photoshop: Go to Image → Image Size. Make sure "Resample" is unchecked when you want to see the true relationship between pixel count and print size. With resampling off, changing the resolution field updates the print dimensions without adding or removing pixels — this is how you verify what DPI your image will actually deliver at a given print size.
Pro Tip: Create a dedicated folder called "Print-Ready Finals" and move only verified, correctly named files into it. When upload day arrives, you pull from one place and avoid accidentally submitting a web-sized version or a cropped draft.
Photoshop's resampling option deserves a word of caution. Turning resampling ON and typing "300" into the resolution field does not fix a low-resolution photo — it just adds interpolated pixels, which printers can detect as soft or blurry. The pixel count has to be there from the start.
Practical fixes when photos are too small or low quality
When a photo flags as low resolution, work through these steps in order:
- Find the original file. Phones and cameras save full-resolution originals; the low-res version is often a shared copy, a screenshot, or a web download. Check the photographer's camera roll or cloud backup first.
- Reshoot if possible. For portraits still accessible, a quick reshoot at the correct settings is faster than any software fix.
- Crop conservatively. Reduce the crop to keep more pixels in the placed area, or use a smaller layout slot that the existing pixel count can support at 300 DPI.
- Export at 300 PPI at the required pixel dimensions from the highest-quality source file available.
What not to do:
- Do not use screenshots — they are typically 72–96 PPI and will flag red in any preflight system.
- Do not pull images from websites or social media; they are compressed and resized for screen, not print.
- Avoid heavy upscaling. AI upscaling tools (such as Topaz Gigapixel AI) can recover modest detail for minor shortfalls, but they introduce artifacts at large magnifications that printers will catch. Use AI upscaling only when the gap is small (say, 220 DPI needing to reach 300 DPI) and always compare a printed proof before committing.
The Trailmarkyearbooks photography checklist covers capture settings and organization steps that prevent most of these problems before they reach the upload stage. Common yearbook design errors like using web images or over-cropping are avoidable with a simple pre-upload review.
Pro Tip: Run a local pixel-dimension check on every photo before batch-uploading. A five-minute review at your desk saves hours of back-and-forth with your vendor during proofing.
What vendors check during preflight and how Trailmarkyearbooks supports advisers
Friesens recommends 300 PPI for printed yearbook images and notes that images under about 200 PPI can appear blurry — a standard most professional yearbook printers share. During preflight, vendors typically check:
- Effective DPI at the placed print size (not just the file's embedded resolution).
- Color profile — untagged or mismatched profiles trigger a flag.
- Compression artifacts — heavy JPEG compression shows up as blocky patterns in solid-color areas.
- Bleed and trim safety — images placed too close to the trim edge may be cut during binding.
- Low-resolution warnings — any image below the acceptable threshold gets flagged for adviser review.
The typical workflow: automated preflight flags the issues, the adviser receives a notification with specific page and image references, and the school submits replacement files or approves a smaller crop. The proofing guide for advisers explains how to read those flags and respond efficiently.
Trailmarkyearbooks provides free design assistance and a dedicated adviser with every order, plus downloadable adviser resource PDFs that include DPI guidance and preflight checklists. Schools that want hands-on help preparing images before submission can access those resources directly or contact their adviser for a walkthrough.

The one resolution rule that actually matters in practice
Most yearbook advisers spend too much time worrying about megapixels and not enough time checking effective DPI after cropping. A 20 MP photo cropped to 10% of its original area can easily fall below 150 DPI in a large layout slot. The megapixel count on the camera spec sheet is irrelevant once the crop happens.
The practical priority is this: get the original file, place it at the correct size, and verify the effective DPI before upload. Everything else — file format, color space, AI upscaling — is secondary to having enough pixels in the right place. Advisers who keep a labeled folder of print-ready originals, organized by student name and slot size, almost never face last-minute replacement requests during proofing.
Trailmarkyearbooks makes photo quality checks part of the process
Getting photos to print at 300 DPI is straightforward once you know the formula — but managing dozens of submissions from students, parents, and photographers is where things get complicated. Trailmarkyearbooks gives every school a dedicated adviser who reviews image quality as part of the production process, not as an afterthought.

With free design assistance, a 2–3 week turnaround, and no hidden fees, Trailmarkyearbooks handles the preflight checks that catch low-resolution images before they reach the press. Advisers get access to downloadable photo preparation checklists and direct support from a team with 50+ years of combined experience. Schools that want to see print quality firsthand before committing can request a free sample — no signup required.
Sources
- Image Size and Resolution Explained for Print and Onscreen
- What Does Resolution Mean? Image Resolution Guide | Adobe