
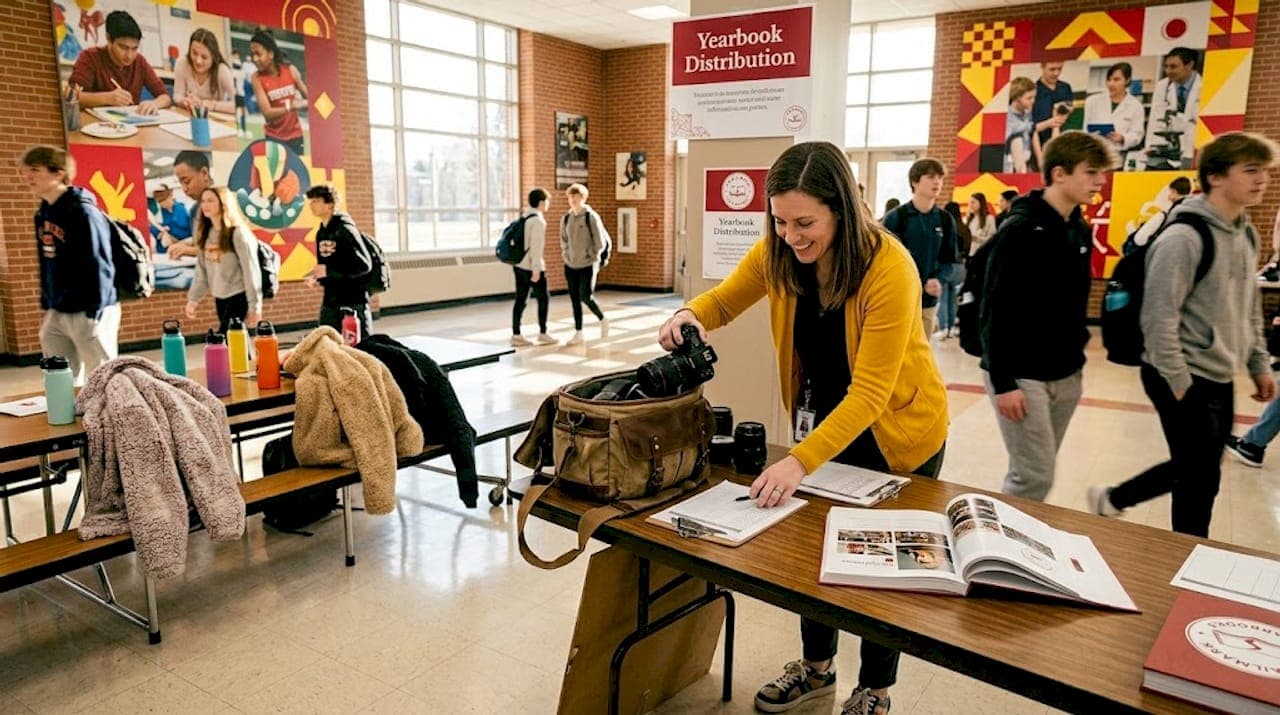
Yearbook season is one of the most logistically demanding times of the school year. You are tracking portrait sessions, chasing down event coverage, managing student photographers, and trying to meet production deadlines all at once. A solid yearbook photography checklist does not just keep you organized. It protects you from the gaps that only show up after the book goes to print. This guide covers everything from gear preparation and shot lists to scheduling, compliance standards, and gear comparisons, so your team captures every moment that belongs in the book.
Table of Contents
- Key takeaways
- 1. Your yearbook photography checklist: gear and preparation
- 2. Shot list essentials: must-capture photo types
- 3. Scheduling and location management
- 4. Compliance and technical standards
- 5. Comparing camera gear and techniques for yearbook work
- My take on what actually makes yearbook photos matter
- How Trailmarkyearbooks can support your photography workflow
- FAQ
Key takeaways
| Point | Details |
|---|---|
| Start with gear prep | A pre-shoot equipment checklist prevents technical failures on portrait and event days. |
| Build a shot list for every category | Cover portraits, candids, action shots, and details to give your layouts real variety. |
| Scout locations early | Arriving 15 to 20 minutes before a session helps you assess light and avoid surprises. |
| Document compliance standards first | Know your school's background, crop, and file format requirements before any shutter clicks. |
| Authenticity matters more than perfection | Candid moments create emotional depth that staged portraits rarely match. |
1. Your yearbook photography checklist: gear and preparation
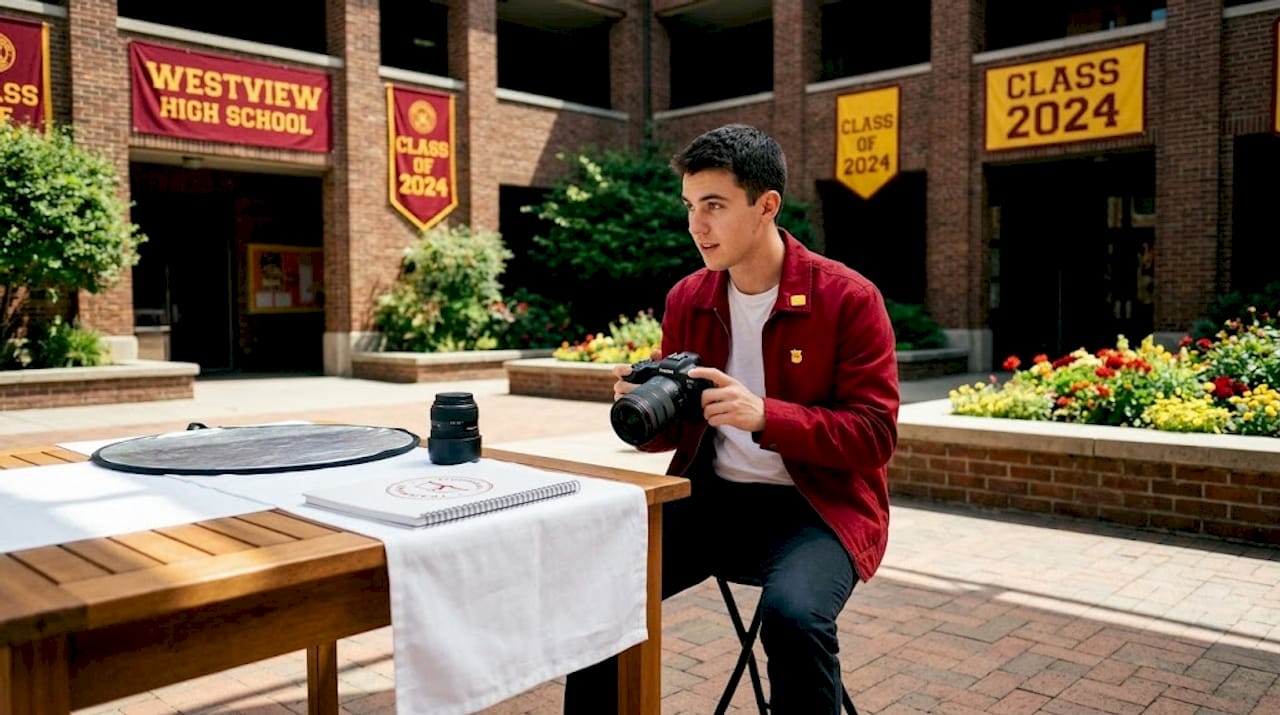
The most avoidable problems on shoot day are gear problems. Camera batteries that die between students, memory cards that fill up mid-session, or a flash unit that was never tested at the actual venue. Building a physical equipment checklist and running through it the day before every major session is the single habit that separates smooth shoot days from chaotic ones.
Here is what your gear checklist should include:
- Camera bodies: Bring at least one backup body. Even professional cameras malfunction.
- Lenses: A 50mm or 85mm prime lens covers most portrait work well. A 24 to 70mm zoom handles events and group shots.
- Memory cards: Bring at least twice what you think you need. Format cards before every session, not after.
- Batteries: Charge all batteries the night before. Pack at least two extras per camera body.
- Lighting: A portable speedlight with a diffuser covers most indoor portrait setups. Test it at the actual location before students arrive.
- Reflectors: A collapsible silver and gold reflector set is inexpensive and handles outdoor fill light without electricity.
- Tripod: Not always necessary, but critical for group photos where consistency of framing matters.
- Backdrop and stand: For formal portrait sessions, your backdrop color should match your school's yearbook requirements before you set up.
Pro Tip: Create a gear bag checklist in a shared notes app and assign one person to sign off on it before every session. This removes the guesswork from a process that should be automatic.
Good school photography tips also recommend testing your full setup at the shoot location rather than assuming it will behave the way it did in your classroom or storage closet. Lighting bounces differently in gymnasiums, cafeterias, and outdoor courtyards. Give yourself 20 minutes of setup time before your first student walks in.
2. Shot list essentials: must-capture photo types
A photography shot list is not just a nice-to-have tool. It is the document that determines whether your yearbook feels complete or full of visible gaps. Without one, photographers shoot what they see in front of them. With one, they know exactly what the book needs.
Here are the core categories every yearbook photo guide should address:
- Individual formal portraits: Every student and staff member, with a consistent background, crop, and lighting setup. This is your baseline coverage.
- Senior portraits: These deserve their own session. Senior sessions typically run 90 to 120 minutes with 2 to 4 outfit changes and multiple locations to give the layout real variety.
- Faculty and staff portraits: Treat these with the same technical consistency as student portraits. Mismatched lighting or crops look sloppy in a spread.
- Candid classroom moments: Students working, laughing, or engaged in a project. These shots give the book its personality.
- Event action shots: Sports games, theater performances, concerts, science fairs, and spirit weeks. Shoot from multiple angles and distances.
- Clubs and organizations: Every club deserves a group photo. Work from a master list of active clubs and check them off as sessions are completed.
- Detail shots: This category is what separates good yearbooks from great ones. Shoot lockers, trophies, spirit decorations, scoreboards, and school signage. These images fill layout gaps and add context.
- Behind-the-scenes moments: Yearbook staff at work, school staff prepping events, and hallway transitions. These are chronically undershot and consistently memorable.
For composition, use the rule of thirds and leading lines to give your shots visual direction. Avoid harsh overhead midday sunlight for outdoor portraits by scheduling those sessions in the morning or late afternoon.
3. Scheduling and location management
Good scheduling does not just keep things running on time. It protects shot quality. A session scheduled at noon in a south-facing courtyard will deliver flat, squinting portraits no matter how good the photographer is. Location and time of day are technical decisions, not logistical afterthoughts.
Key items for your scheduling and location checklist:
- Build a master event calendar at the start of the school year with every planned shoot date, session type, and photographer assignment listed in one place.
- Scout every location in advance. Arrive 15 to 20 minutes early to assess shadows, light direction, and any environmental changes since your last visit.
- Document location notes including best times of day, power outlet locations, and weather backup plans. A shared Google Doc or Notion page works well for this.
- Coordinate scheduling with faculty at least two weeks before portrait sessions. Students need lead time to prepare outfits and arrange any absences or rescheduling.
- Plan indoor backup options for every outdoor session. Weather does not care about your yearbook deadline.
Pro Tip: Send a one-page prep sheet to every student before their session. Include what to wear, what time to arrive, where to go, and what to expect. This alone will cut your no-show and repeat-session rate significantly.
Golden hour, the 60 to 90 minutes before sunset, gives you warm, directional light that is universally flattering for portrait work. If your schedule allows for any outdoor senior sessions, plan them around this window.
4. Compliance and technical standards
Every school has specific requirements for how yearbook photos must be submitted. Ignoring these does not just create extra work. It means re-shoots, delayed production, and frustrated students. Your yearbook photography checklist should include a compliance section that every photographer reviews before the first session.
Here is a comparison of the most common yearbook photo technical standards:
| Standard | Typical requirement | Common mistake |
|---|---|---|
| Background | Neutral, solid color (gray, white, or navy) | Using textured or gradient backgrounds |
| Crop | Head and shoulders, centered | Cropping too tight or leaving excess headroom |
| File format | High-resolution JPEG or TIFF at 300 dpi | Submitting compressed or web-sized images |
| Retouching | Minimal, no heavy skin smoothing or filters | Over-editing with phone apps or presets |
| Color | Full color for most sections; spot B&W for specific spreads | Submitting B&W where color is required |
Many schools require a neutral background, specific cropping, no heavy editing, and particular file formats as baseline requirements. The problem is that most photographers only learn these standards after they submit the wrong thing. Document them up front, share them with every photographer on your team, and review them as a group before senior portrait sessions begin.
For senior portraits specifically, confirm whether your school allows students to use outside studio photos or requires an official school session. This distinction affects your entire scheduling plan.
5. Comparing camera gear and techniques for yearbook work
Budget, context, and photographer experience all shape the right gear choice. Here is a practical comparison of the three most common camera options for school photography:
| Camera type | Strengths | Limitations | Best use case |
|---|---|---|---|
| DSLR | Excellent image quality, wide lens selection, long battery life | Heavier, larger, steeper learning curve | Formal portraits, sports, events |
| Mirrorless | Lighter than DSLR, fast autofocus, great video too | Shorter battery life, higher cost | Senior sessions, club photos, detail shots |
| Smartphone | Always available, fast to shoot, easy sharing | Portrait mode can cause focus issues around hair and complex backgrounds | Candids, behind-the-scenes, backup shots |
For portrait work, an 85mm lens on a crop sensor body or a 50mm on full frame gives you the flattering compression that makes formal photos look polished. For event coverage, a 24 to 70mm zoom lets you adapt without switching lenses.
Smartphones deserve a real mention here. They are genuinely capable for candid and spontaneous shots. That said, portrait mode's focus artifacts around hair edges can make formal images look amateur. Use smartphones for behind-the-scenes content and candids, not for photos that will be placed prominently in the layout.
For lighting, natural light is almost always preferable when conditions allow. Artificial lighting setups give you consistency and control, which matters for large portrait days when you need every student to match. The best approach is to use artificial lighting for formal sessions and natural light for environmental and candid coverage.
My take on what actually makes yearbook photos matter
I have worked through enough yearbooks to know that the ones that actually resonate with students years later are not the ones with the most technically perfect portraits. They are the ones that captured something real.
What I have noticed is that yearbook advisers who focus exclusively on execution, making sure every photo is sharp and every crop is correct, often end up with books that look great on paper but feel hollow. The books that students pull out at reunions are the ones where someone with a camera was in the right hallway at the right time and did not overthink it.
My experience with shot lists and checklists is that they work best when they give photographers a floor, not a ceiling. Use your yearbook photography checklist to cover what you must have. Then give your photographers permission to shoot what surprises them. The authentic candid shot of two students laughing before the bell rings will outlive any posed group photo in your gymnasium.
The other lesson I keep relearning is that planning for flexibility is not a contradiction. When you scout locations, document backups. When you schedule sessions, build in buffer time. When you brief photographers, tell them the required shots and then give them 10 minutes at the end to just observe and shoot freely. That last 10 minutes is often where the best images come from.
A checklist is a tool for thoroughness, not a substitute for instinct.
— Jace
How Trailmarkyearbooks can support your photography workflow

Getting the photography right is only half the job. Turning those photos into a finished yearbook that actually ships on time, looks great, and does not cost a fortune is the other half. That is where Trailmarkyearbooks comes in. With 50-plus years of combined experience supporting schools of all sizes, the team understands what yearbook coordinators need: clear timelines, honest pricing, and real support when things get complicated.
If you are coordinating high school yearbook photography for the first time or looking for a more dependable production partner, Trailmarkyearbooks offers free design assistance, flexible design tools, and a 2 to 3 week turnaround with no hidden fees. You can request a sample to see the product quality firsthand, or connect with a rep to talk through your specific photography and production needs before committing to anything.
FAQ
What should be on a yearbook photography checklist?
A complete yearbook photography checklist should cover equipment preparation, a shot list with portrait categories and candid moments, location and scheduling details, and compliance standards for file format, crop, and editing requirements.
How long should a senior portrait session last?
Senior sessions typically run 90 to 120 minutes and include 2 to 4 outfit changes across multiple locations to give the yearbook layout enough variety.
What camera is best for yearbook photography?
DSLRs and mirrorless cameras deliver the best image quality for formal portraits and event coverage. Smartphones work well for candid shots but should be avoided for featured layout photos due to portrait mode focus limitations.
How do you organize yearbook photo coverage across a full school year?
Build a master calendar at the start of the year listing every shoot date and event type, assign photographers to specific sessions, scout locations in advance, and use a shared tracking document to mark off completed shots as the year progresses.
What are common compliance requirements for yearbook photos?
Most schools require a neutral solid background, a head-and-shoulders crop, high-resolution JPEG or TIFF files at 300 dpi, minimal retouching, and full color unless specific spreads call for black and white.