
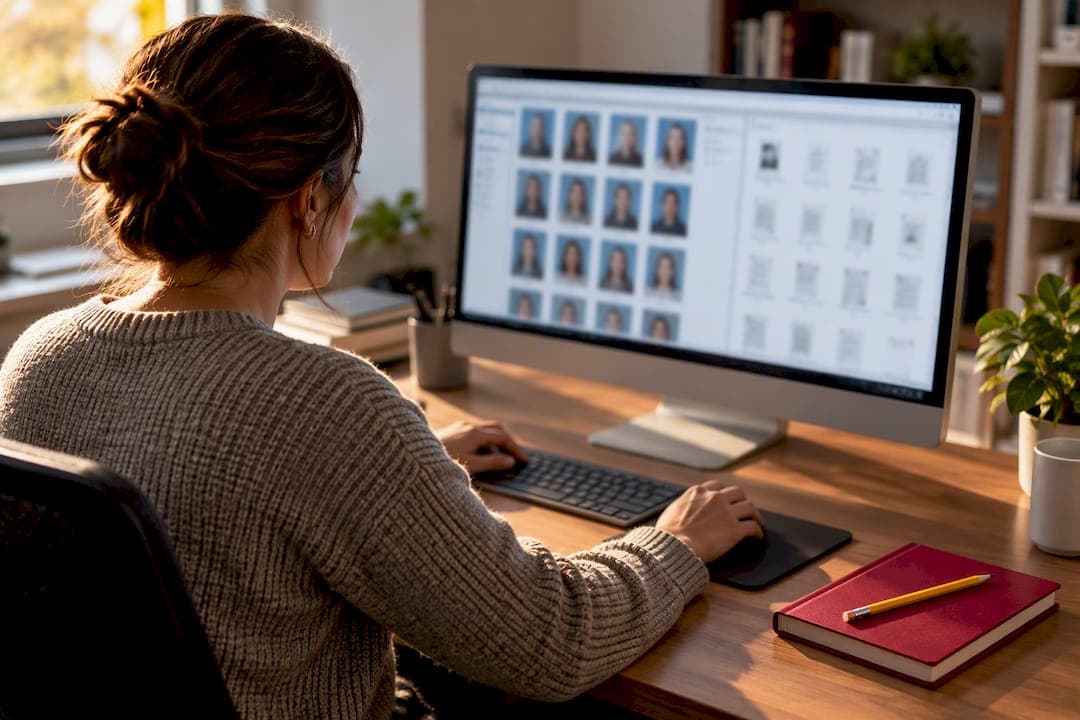
Every successful portrait import comes down to two things: a folder of properly named JPEGs and a matching index or data file (often called a PSPA export, index.txt, or CSV) that tells the platform who's in each photo. When those two pieces line up, the import pairs each image to the right student record and drops portraits into their grade or class sections automatically. Before you upload the whole batch, run a test import of a handful of files. It's the fastest way to catch a mismatch before it becomes a support ticket.
TL;DR:
- Using the correct filename format with student ID, last name, and first name reduces the risk of mismatched portraits during import.
- Running a test import with five to ten images helps verify field mapping and avoids bulk errors that require reprocessing.
- Merging retake photos with the same student IDs and checking their upload date prevents accidental overwrites of finalized portraits.
- Ensuring images are RGB JPEGs at roughly 300 dpi and consistent face sizes across class pages is critical for optimal print quality.
- Following platform-specific upload instructions and verifying sample pages early can save support tickets and reprints later.
Table of Contents
- What Do You Need Before You Import Portraits to Your Yearbook?
- How Do You Actually Import Portraits Step by Step?
- Why Do Filenames and Index Fields Matter So Much?
- How Do You Handle Retakes and Late Portraits?
- Why Didn't My Portraits Import Correctly?
- How Do You Keep Portraits From Looking Like Postage Stamps?
- How Does TrailMarkyearbooks Support the Import Process?
- An Editor's Afternoon Plan for Getting This Done
- Get Hands-On Help With Your Yearbook Import
- Where to Check Platform-Specific Import Details
- Sources
- FAQ
What Do You Need Before You Import Portraits to Your Yearbook?
Get these pieces in order before you touch the upload button.
- File format and color mode: JPEG or JPG, RGB color mode. Many platforms reject CMYK files or accept them but print them incorrectly, since platform uploaders commonly limit accepted color modes and formats.
- Resolution: Aim for a resolution that is roughly 300 dpi at typical print size, usually between medium and high pixel dimensions on the long edge.
- Filenames: Include the student ID whenever your photographer or platform supports it, plus last and first name. No spaces, no accented characters, no punctuation beyond an underscore.
- Index/data file: Minimum columns are student ID, last name, first name, grade or class, and the exact photo filename.
- Packaging: Keep the index file and image folder in the same parent directory, then zip them together for upload.
If your studio hands you a photography checklist ahead of Picture Day. This is a good moment to revisit it and confirm the naming convention was set correctly from the start. TrailMarkyearbooks's own photography checklist for coordinators covers the planning side of this same problem.
How Do You Actually Import Portraits Step by Step?
The mechanics vary slightly by platform, but the sequence is nearly universal across yearbook software.
- Download the current portrait package. Check the file's upload date first. Iron City Studios notes that editors should always grab the most current package rather than an earlier one, since a newer version often includes retakes or corrected student data that a stale download will miss.
- Extract the ZIP file. Confirm the index/data file and the image folder sit in the same directory. If the index file is buried in a subfolder while images sit at the root, most uploaders won't find the match.
- Run a test import. Upload five to ten images first. This confirms your field mapping actually works before you commit the full roster. Captura's uploader, for example, accepts a folder containing both the index file and images, then walks you through a "Start Uploading" flow with a notification once the batch finishes.
- Upload the full folder. Use the platform's "Upload Folder" or equivalent bulk function once the test batch checks out clean.
- Verify inside Subject Management. Imported portraits land in a subject or portrait management area, where you can confirm names matched correctly and counts line up with your roster.
Some platforms also support alternate intake methods. Yearbook Machine, for instance, lists direct upload, Dropbox, and email-to-yearbook options alongside a standard drag-and-drop photo box, which can help if your photographer delivers files through a shared drive instead of a single ZIP.
Why Do Filenames and Index Fields Matter So Much?
Most import failures trace back to one of two things: a filename the index file doesn't recognize, or a data column the platform expects in a different order. Getting the format right upfront saves hours of manual fixing later.
A clean filename looks like 10245_Martinez_Sofia.jpg, where 10245 is the student ID. Building the ID into the filename is one of the most reliable ways to prevent duplicate or swapped photos, especially at schools where multiple students share a last name or a photographer shoots several classes back to back.
Your index file needs a row that mirrors that structure. A typical line reads something like: 10245, Martinez, Sofia, Grade 5, 10245_Martinez_Sofia.jpg. Stick to plain ASCII characters. Skip spaces, apostrophes, and accented letters in filenames even if the student's legal name includes them; put the correct spelling in the index columns instead, where the platform can display it properly on the page.
Pro Tip: Stick with RGB JPEGs across your whole batch, even the retakes. Mixing RGB and CMYK files in one import is a common cause of portraits that print duller or shift color compared to the rest of the page.
How Do You Handle Retakes and Late Portraits?
Retake day always creates a second wave of files, and merging them cleanly takes a little discipline.
- Merge retake packages using the same student IDs as the original shoot. Consistent IDs let the new photo overwrite the old one instead of creating a duplicate record.
- Check the retake package's date before importing, since a package labeled "final" that's actually older than your original upload can quietly undo corrections.
- Add a single missing portrait through the platform's portrait manager rather than re-running a full import, unless several students still need photos.
- Scan for duplicate filenames before uploading. Two files with the same name in one folder will silently overwrite each other.
Why Didn't My Portraits Import Correctly?
Most import errors fall into a short list of repeat offenders: a filename missing from the index, an ID that doesn't match between the two files, an unsupported format like PNG or TIFF, or an image that exceeds the platform's file size cap.
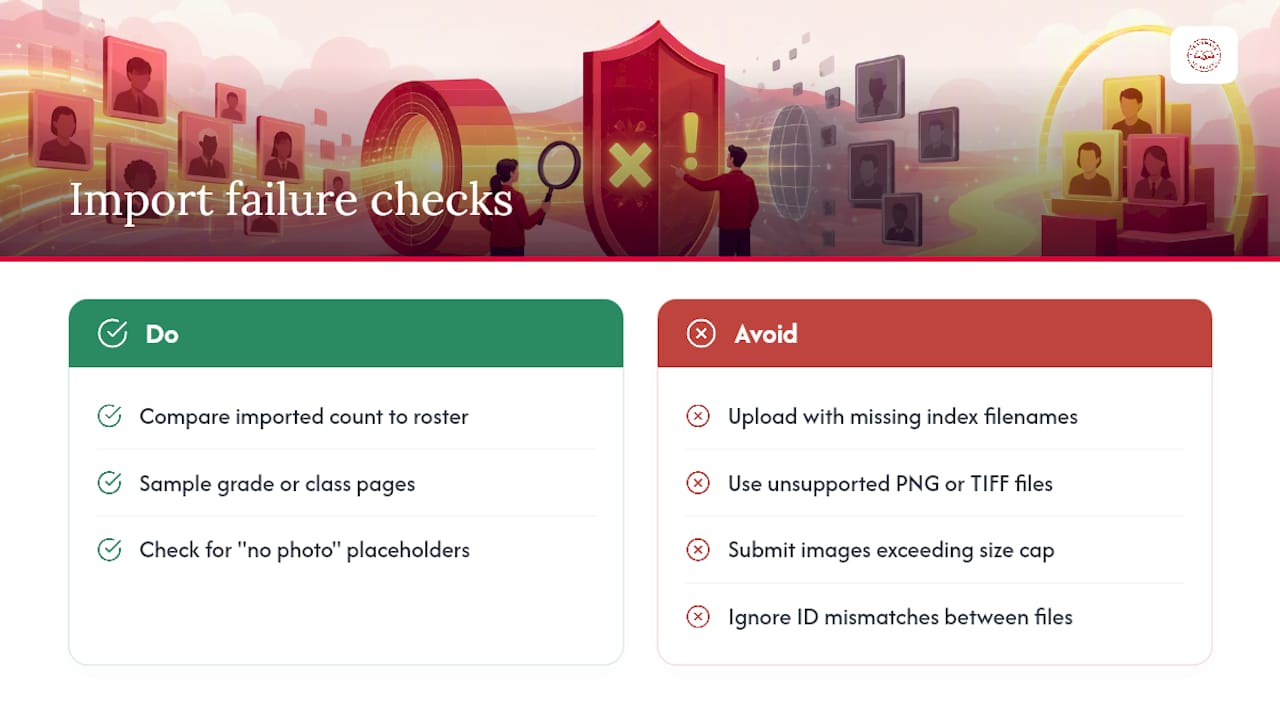
After any import, run a quick verification pass. Compare the total number of imported portraits against your roster count, click through a sample of grade or class pages, and watch for "no photo available" placeholders sitting where a real portrait should be.
If something's off, the fix is usually narrow. Correct the index row or filename, then re-upload just the corrected images instead of running the entire batch again. If you end up contacting platform support, have your index file rows, the upload confirmation log, and a couple of sample filenames ready. Roughly one in five import tickets traces back to a mismatched or missing filename in the index rather than a platform bug, which is worth remembering before you assume the software is broken.
How Do You Keep Portraits From Looking Like Postage Stamps?
A portrait that looks sharp on your monitor can print as a blurry square if the pixel dimensions don't match the layout cell it lands in. Check the export size against your template's portrait box before importing, not after.
Aim for roughly 300 dpi at the final printed size, and build in enough headroom around the crop so a template's automatic framing doesn't slice off a chin or forehead. Keep face size reasonably consistent across a single class page. One oversized head next to a row of smaller ones reads as a mistake even when every individual photo is technically fine. If you know certain students will appear on a senior spread or a larger feature page, keep a separate high-resolution master folder for those files rather than relying on the standard portrait-cell export.
Pro Tip: Before you finalize any spread, zoom to 100% on a printed proof, not just your screen. Screens forgive low resolution in ways a printed page never does.
TrailMarkyearbooks's guide to preventing tiny class-page photos walks through sizing math in more detail if you're building templates from scratch.
How Does TrailMarkyearbooks Support the Import Process?
Yearbook services accept standard portrait exports, whether that means a folder-based upload or a CSV/PSPA-style data file from your photographer. If you'd rather build pages yourself, you can work in Canva, InDesign, or the built-in online creator and submit finished layouts directly.
Some services offer free design assistance and a dedicated adviser who can handle proofing and import questions directly, so the DIY route stays optional rather than mandatory.
An Editor's Afternoon Plan for Getting This Done
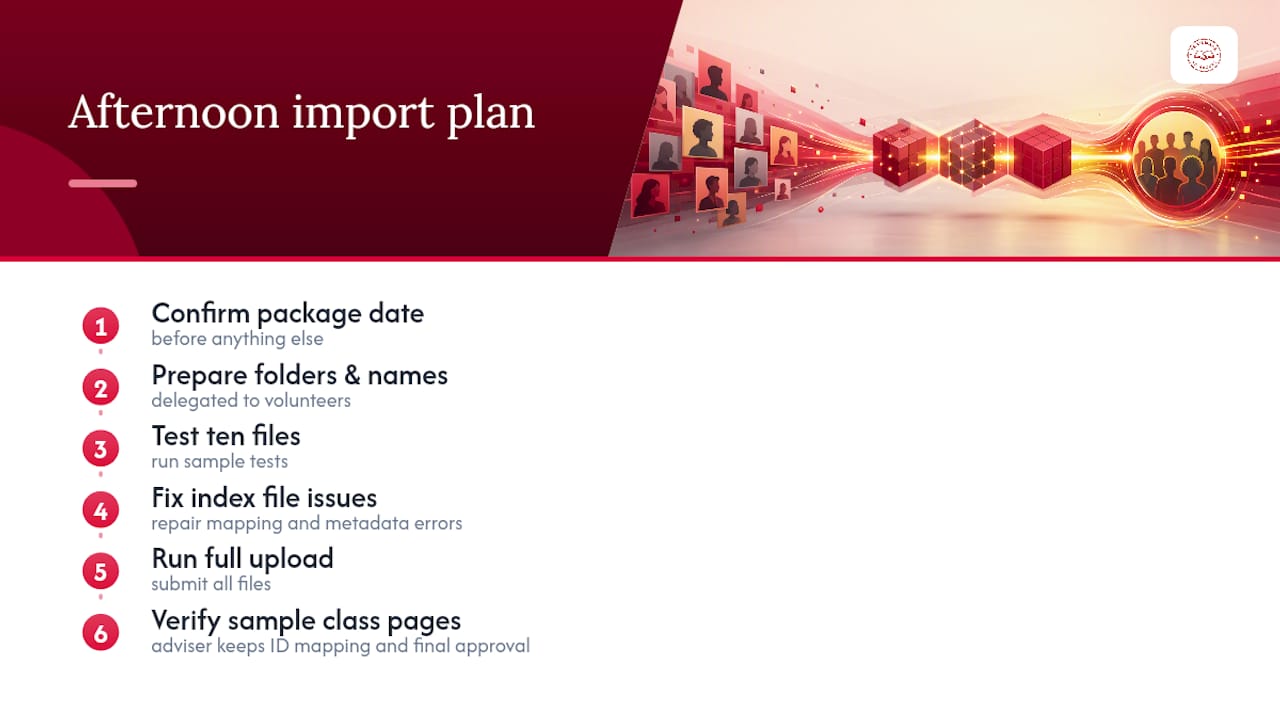
Confirm the package date first, before anything else. Then test ten files, fix whatever the index file gets wrong, run the full upload, and check a sample of class pages before it goes anywhere near the press. That order matters more than doing it fast.
Volunteers can handle the folder prep and filename cleanup. Keep ID mapping and final proof approval with the adviser, since that's where a small error turns into a reprint. Never skip the sample verification step. It's the cheapest insurance you'll buy all year.
— Jace
Get Hands-On Help With Your Yearbook Import
If the checklist above feels like more than your volunteer team can handle on top of deadlines, lesson plans, and everything else on an adviser's plate, TrailMarkyearbooks is built to take that load off entirely. Instead of piecing together your own workflow across a photographer's export, a spreadsheet, and trial-and-error uploads, you get transparent, all-inclusive pricing with no sales calls and no hidden fees, plus a dedicated adviser who can walk your import and retake merges through to a finished proof.

Schools that want full control can still design in Canva or InDesign and submit finished pages; schools that would rather hand off the import and proofing entirely can lean on TrailMarkyearbooks's full-service option instead. Either way, turnaround runs 2 to 3 weeks once your files are in, with no order deadlines forcing your hand. Start by checking your printing and cover options to see instant pricing, or visit the main TrailMarkyearbooks site to talk through a done-for-you import with an adviser before your next portrait deadline hits.
Where to Check Platform-Specific Import Details
For exact upload steps on your own platform, Captura's uploader documentation and Iron City Studios's portrait download and import walkthrough cover field order and file limits in more depth than any general guide can.
Sources
- How do I upload images and data into Yearbooks or Product Designer?
- How do I upload images and data into Yearbooks or Product Designer?
- How to download and import your yearbook photos
- Adding Photos « Support | Yearbook Machine
FAQ
What Is a Portrait in a Yearbook?
A yearbook portrait is the standard individual photo of a student or staff member used for class pages, typically a head-and-shoulders shot taken against a neutral background. It's distinct from candid or event photography, which fills feature spreads rather than the structured grid pages organized by grade or class.
Is There a Way to Access Old School Photos?
Many photography studios and yearbook platforms keep past portrait packages archived and accessible through the same account a school used originally, though retention periods vary by provider. If your school switched platforms or providers, check with the previous photography studio directly, since portrait archives usually live with whoever took the photos rather than with the yearbook printer.
How Do I Turn a Photo Into a Portrait-Style Photo?
Cropping to a head-and-shoulders frame, correcting the color mode to RGB, and adjusting exposure and background are the core steps most editors use to convert a casual photo into something that matches standard portrait formatting. Basic photo editors or the built-in tools in Canva can handle these adjustments before the file goes into your import folder.
How Much Do Yearbook Photographers Make?
Yearbook photographer pay varies widely by region, experience, and whether the work is freelance or through a studio contract, and no single figure applies nationwide. Most school photography arrangements are negotiated directly between the school and the studio rather than set by a standard rate.
What Does TrailMarkyearbooks Charge for Printing?
TrailMarkyearbooks lists per-book pricing for cover and binding options directly on its printing page, including a perfect bound soft cover at $1.60 per book and a 150-point hardcover board at $1.50 per book. Additional options like Smyth sewn binding, printed endsheets, and personalized covers are priced separately on the same page.